Looking for ideas for eye-catching coloring pages for kids? Download the Endo graphics templates and try out the idea of creating pictures using rising baking paint. Prepare special finger paints with your children and create interesting, textured pieces together! The whole thing will take just minutes, and the results will surprise artists young and old.
 Check out these other creative Halloween projects: Spooky Sensory Tray and Buzzing Pumpkin – The Best Halloween Experiment for Kids
- Wheat flour - 1 scoop
- Salt - 1 scoop
- Water - 1 scoop
- Food coloring
- Ready-made template or blank A4 sheet of paper
Step 1 - Prepare the rising mass for baking paints
Combine all ingredients—flour, salt, and water—in a 1:1:1 ratio. Before adding the water, dye it any color of your choice. You can use paints, crepe paper, or special food colorings, which are safe for young artists. If you use half an espresso cup as a measurement, the resulting amount of paint will be enough to create several pictures—this is a sample amount for one color. Mix everything together until smooth. The recipe is so simple that even preschoolers can prepare it themselves, following their parent's instructions.
If you want to introduce growing paint to your little ones, it's best to use natural products like beetroot juice, spirulina, or turmeric to color the clay. Keep in mind that the resulting colors won't be as intense.
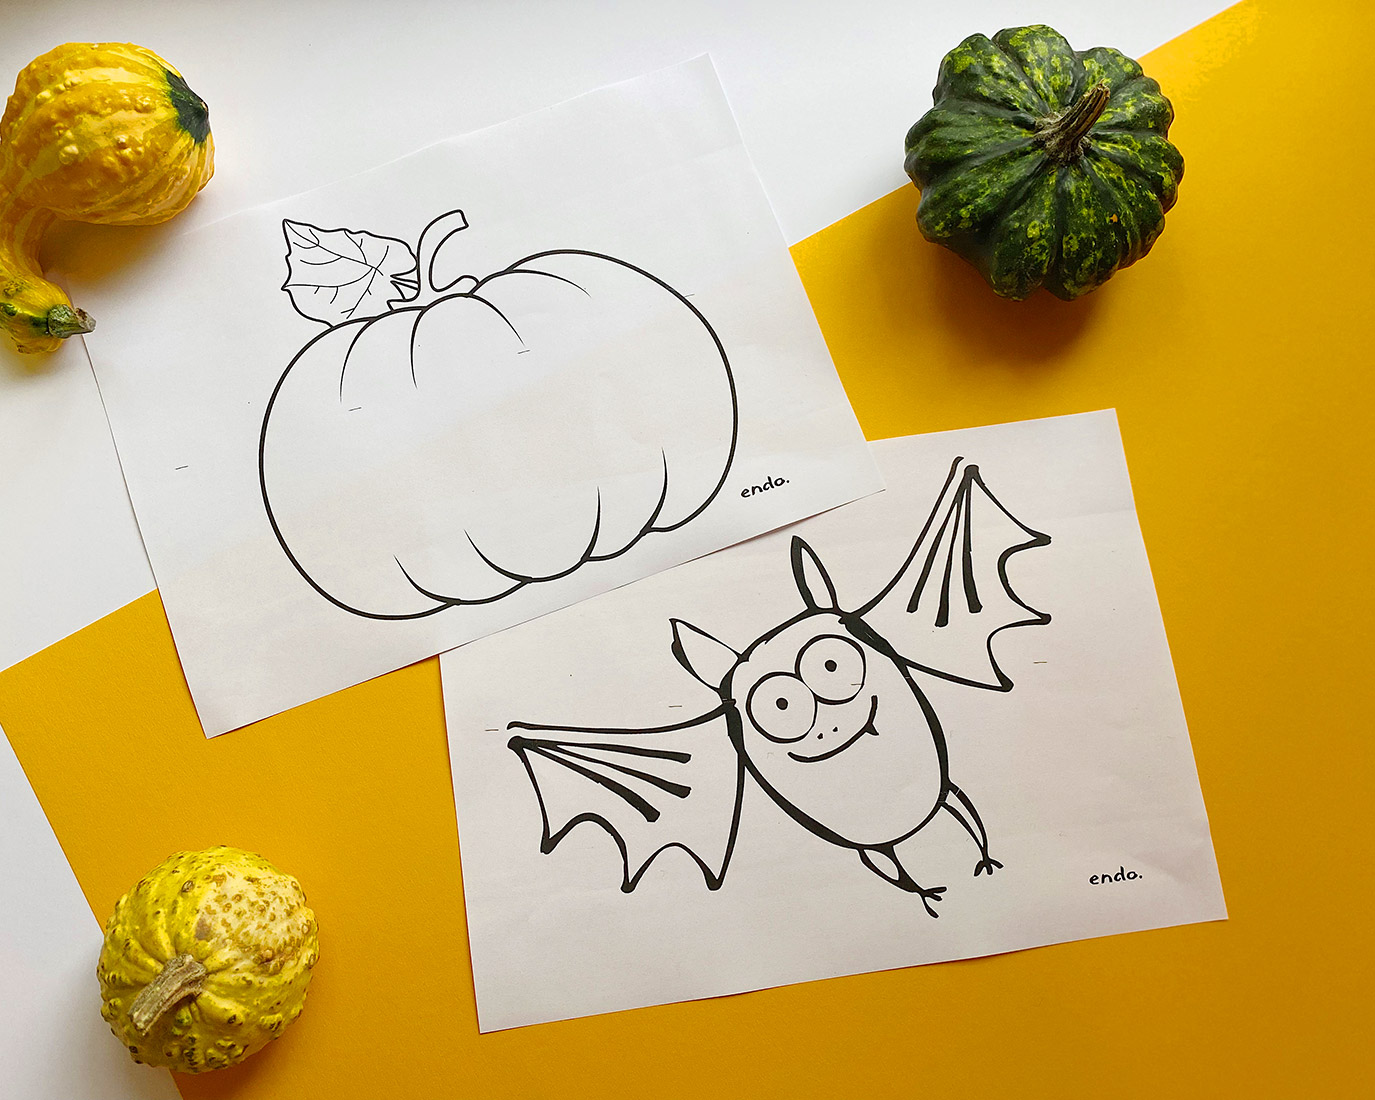
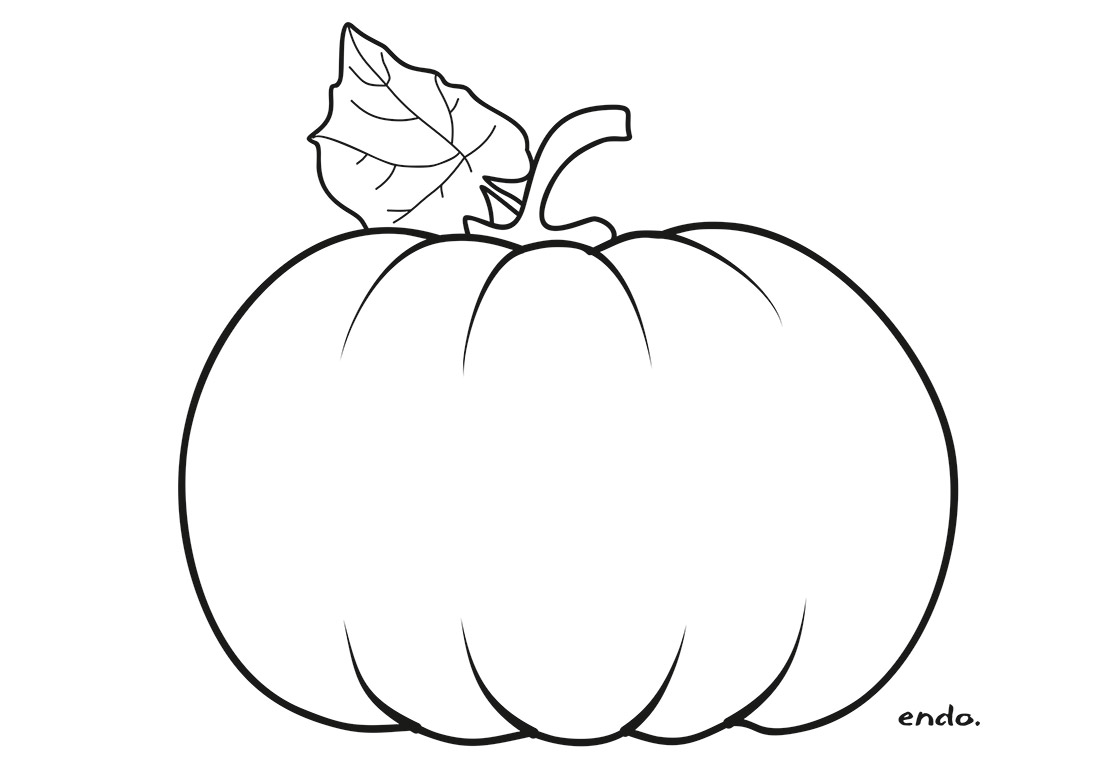
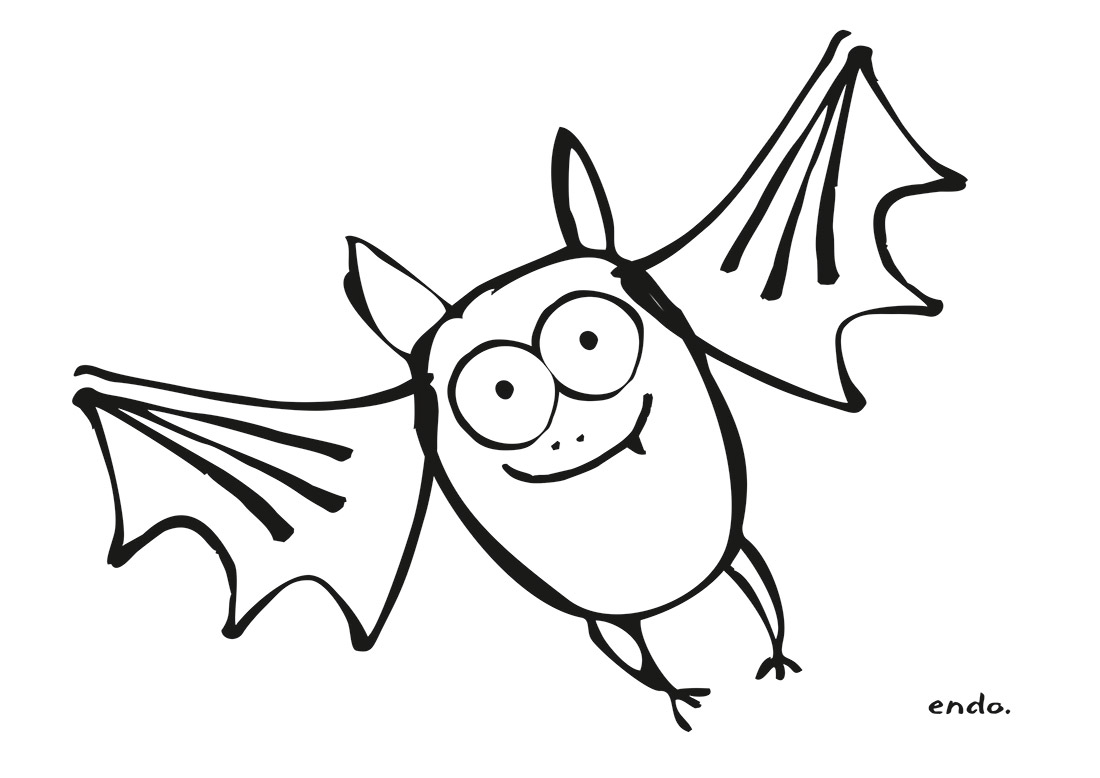
Step 2 - Download ready-made templates for fun
It's time for some pictures made with rising baking paint. For fans of Endo's original and cheerful graphics, we've prepared a few templates you can use in your art activity. Download the ones that catch your eye. Then, get creative with your paintings. You can, of course, also use a blank sheet of paper so children can come up with their own patterns or abstractions.
Download templates with Endo graphics
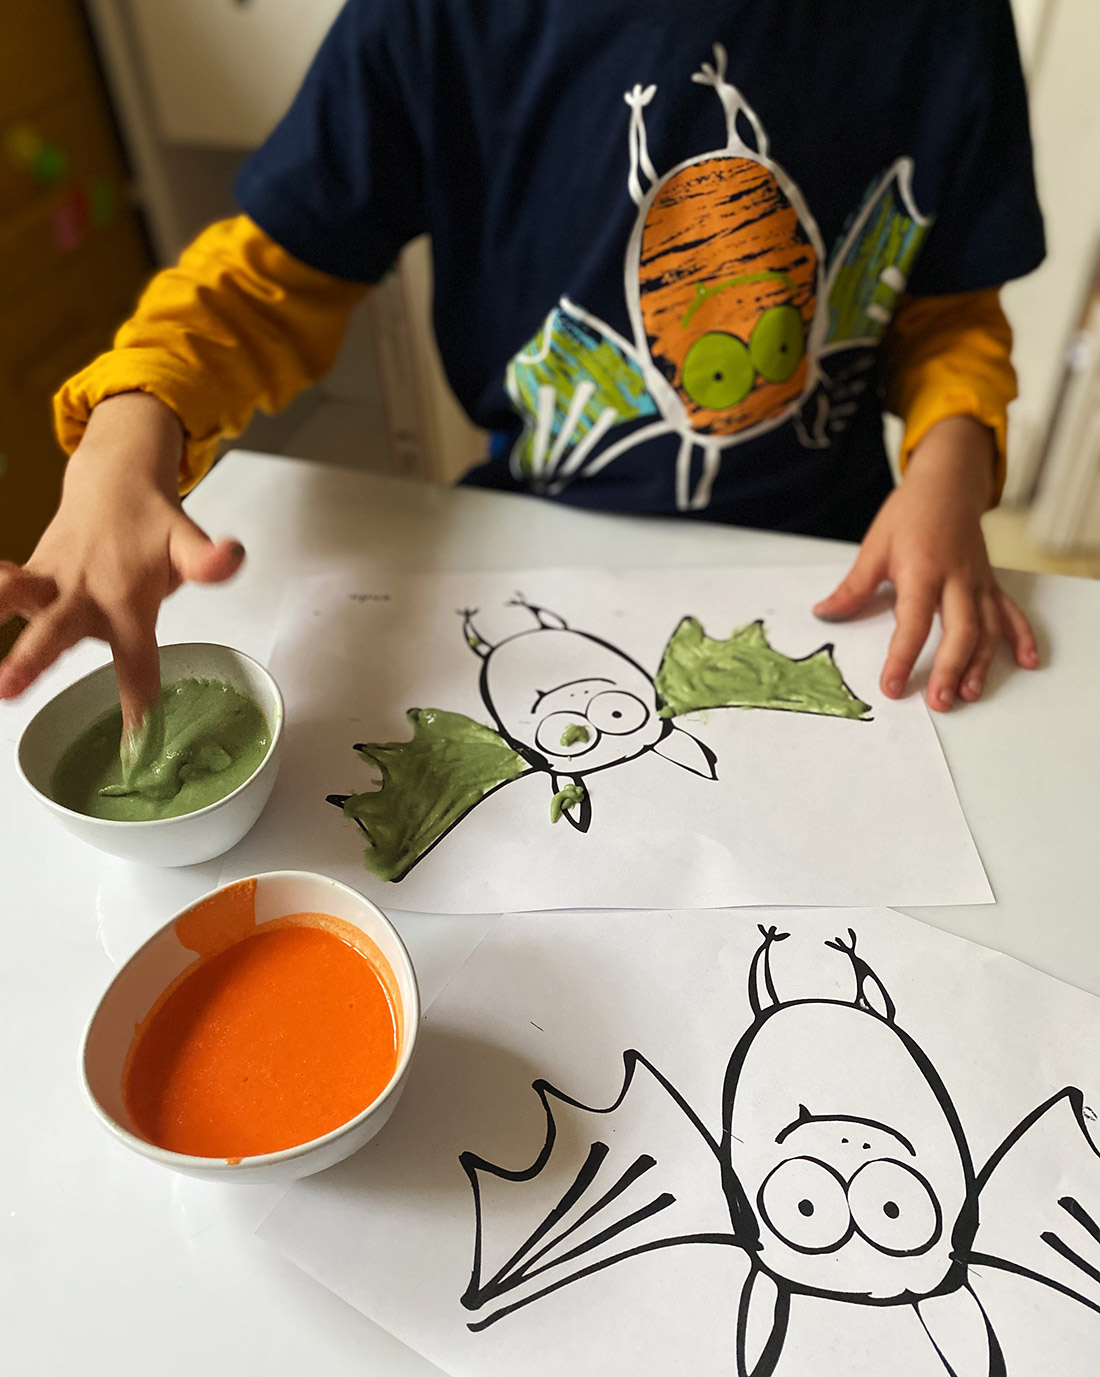
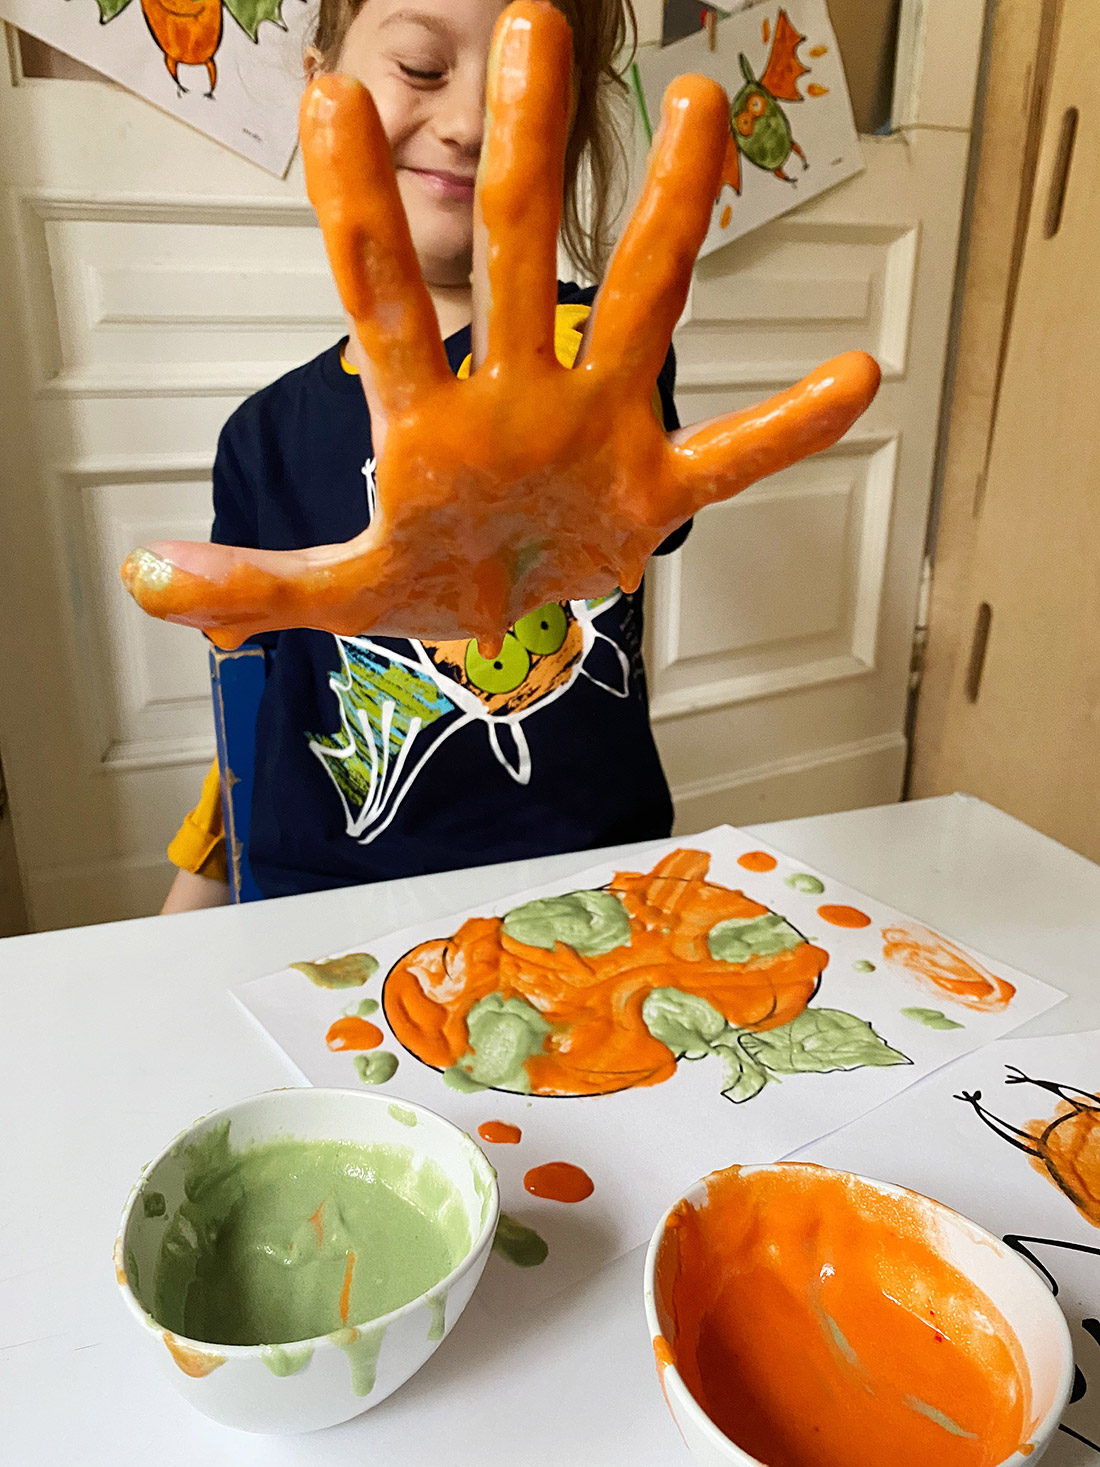
Step 3 - Paint and experiment
It's time for some creativity. Prepared baking paints can be applied to the artwork using fingers, brushes, or sticks. Salt gives the paint a rather interesting, granular texture, so it's worth encouraging little ones to try finger painting. Of course, it's worth letting your imagination run wild. We don't stick to rigidly defined frames or lines in coloring books.

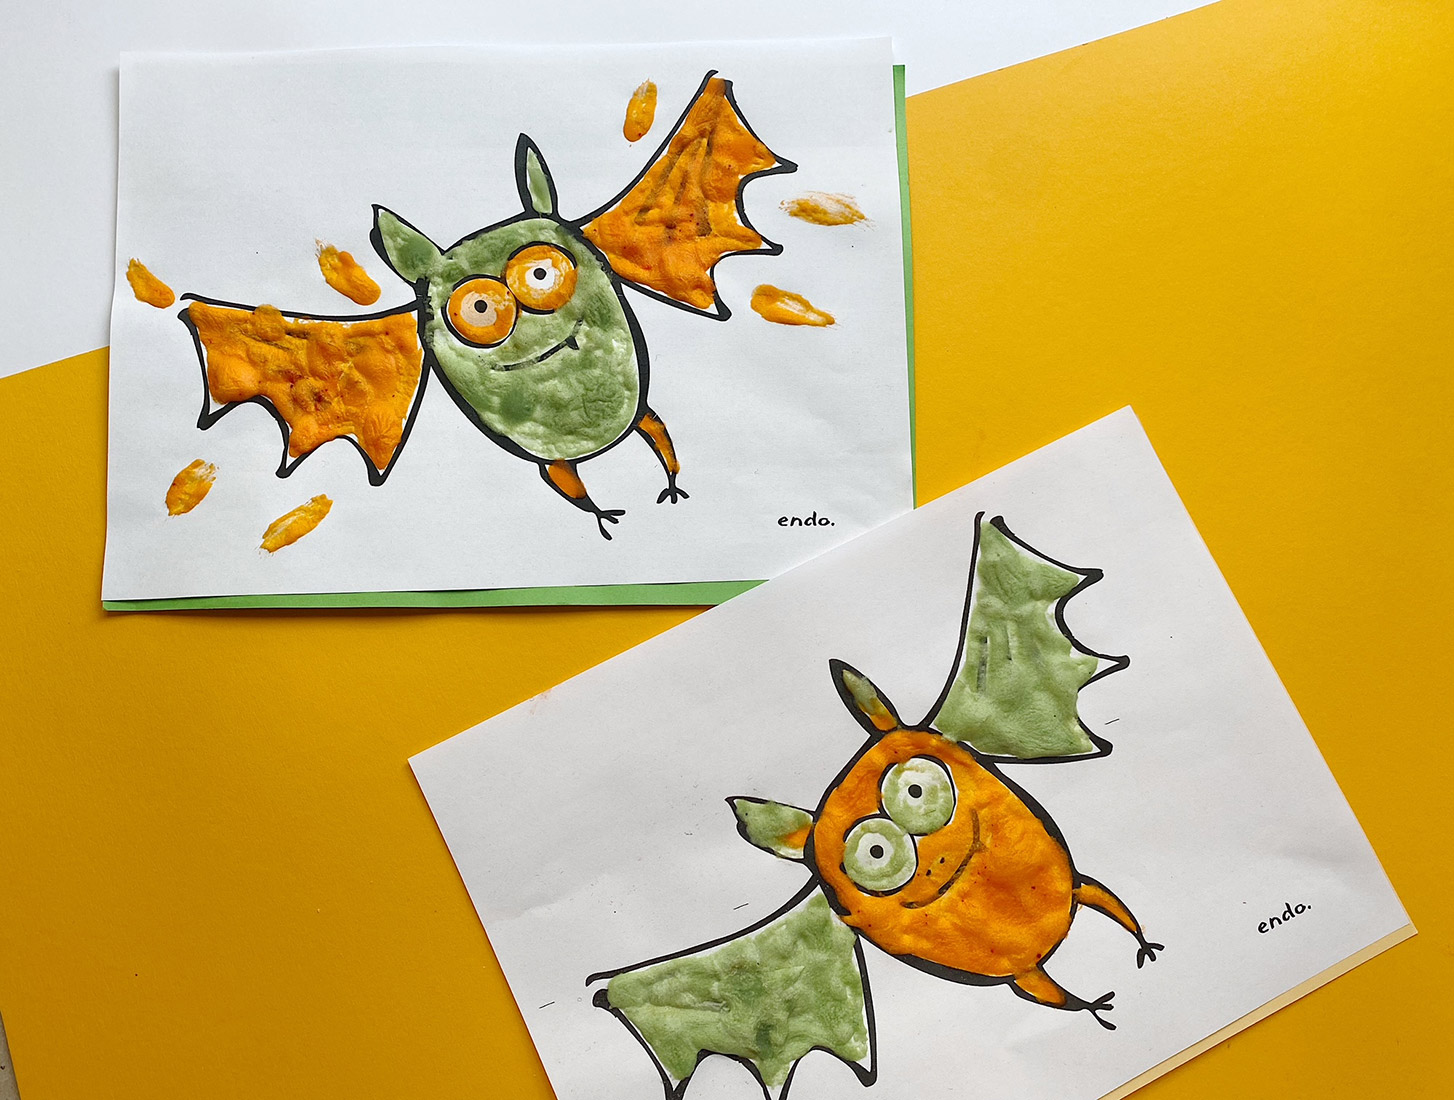
Step 4 - Growing Baking Paint Pictures
Now it's time for a surprise for the kids. It's time to throw their drawings into... the oven, or more precisely, the microwave or oven. Here, the artwork will bake and rise like hotcakes. Simply microwave the drawing for about 1 minute (at 700W). The exact baking time depends on the thickness of the applied layer. You can also pre-bake the growing paint pictures in the oven. In this case, you need about 2 minutes at 80°C (176°F).

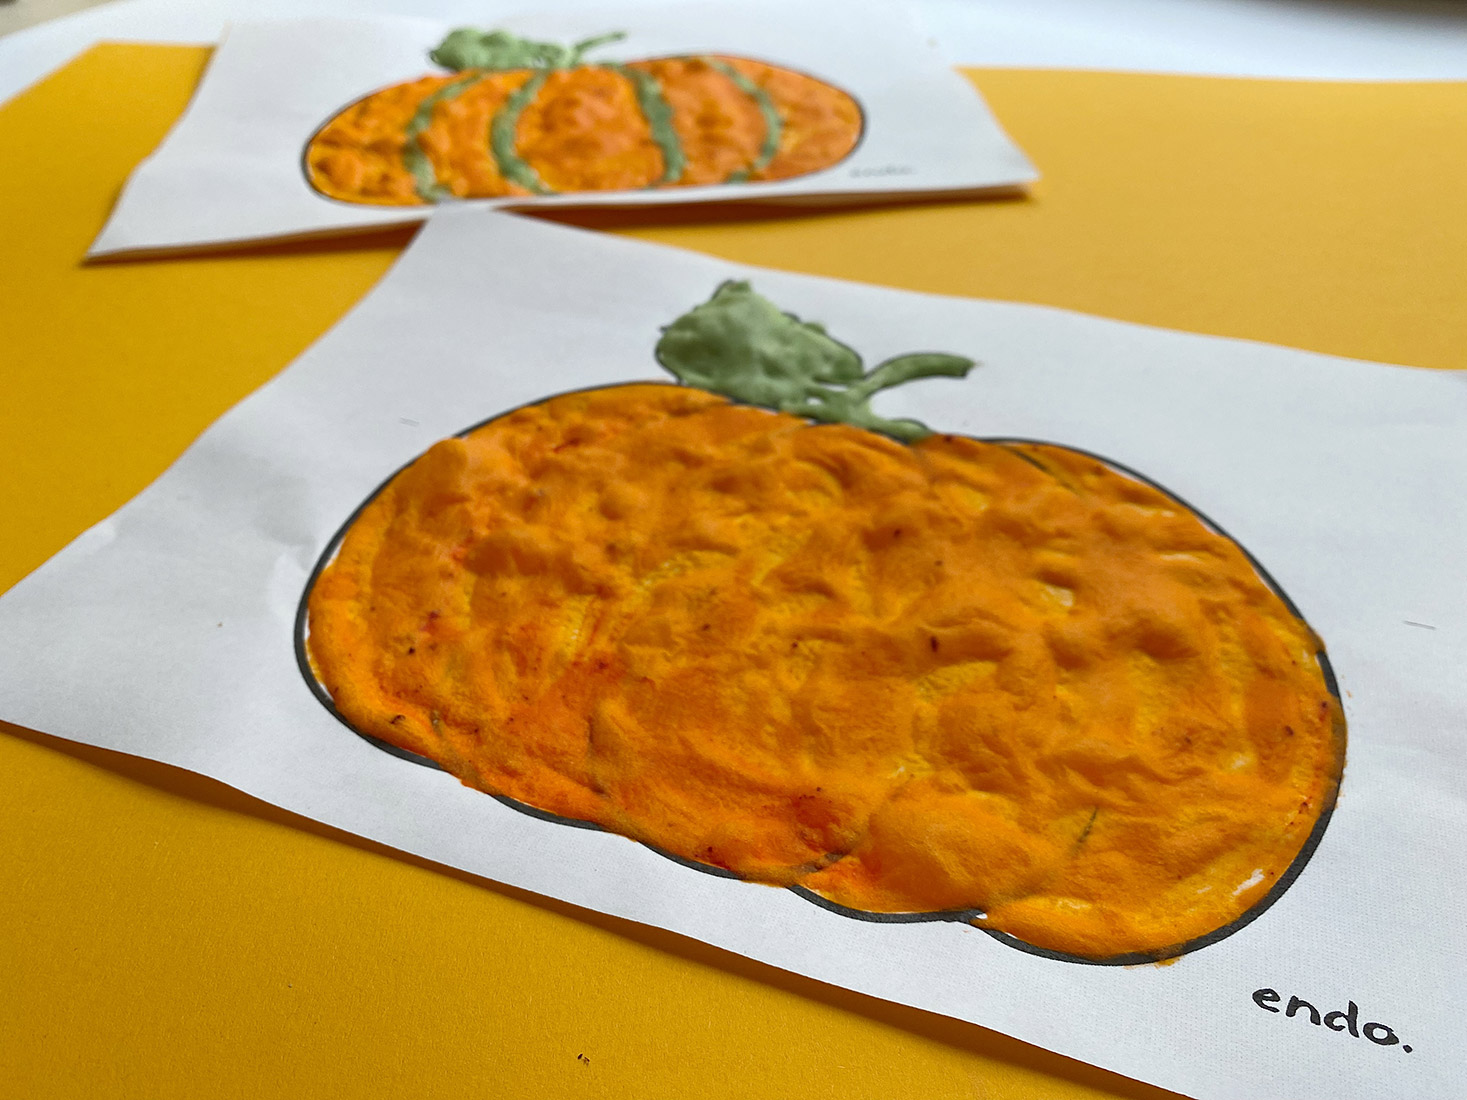
Step 5 - Baked Image Gallery
The effect we should achieve is convex, wavy images with a unique 3D structure. They can be admired, touched, and smelled.


Podziel się:
Jak kupować ubranka dla noworodka? Poradnik
Spooky Sensory Tray: Halloween Pasta Games