
Horse Day (April 30th) is behind us, but nothing's stopping you from still celebrating your love for these unique animals! If your child loves all things cloven-hoofed: horses, pegasi, unicorns, or zebras ;); and you're looking for a creative DIY project you can make together with your child, we have something perfect. Check out our simple tutorial for a flying paper Pegasus , which you can make at home using a few basic materials and a free downloadable template from Endo. Our DIY paper Pegasus is not only great fun, but also a perfect way to develop your child's creativity and manual skills.
- Printed Pegasus horse template – download below
-
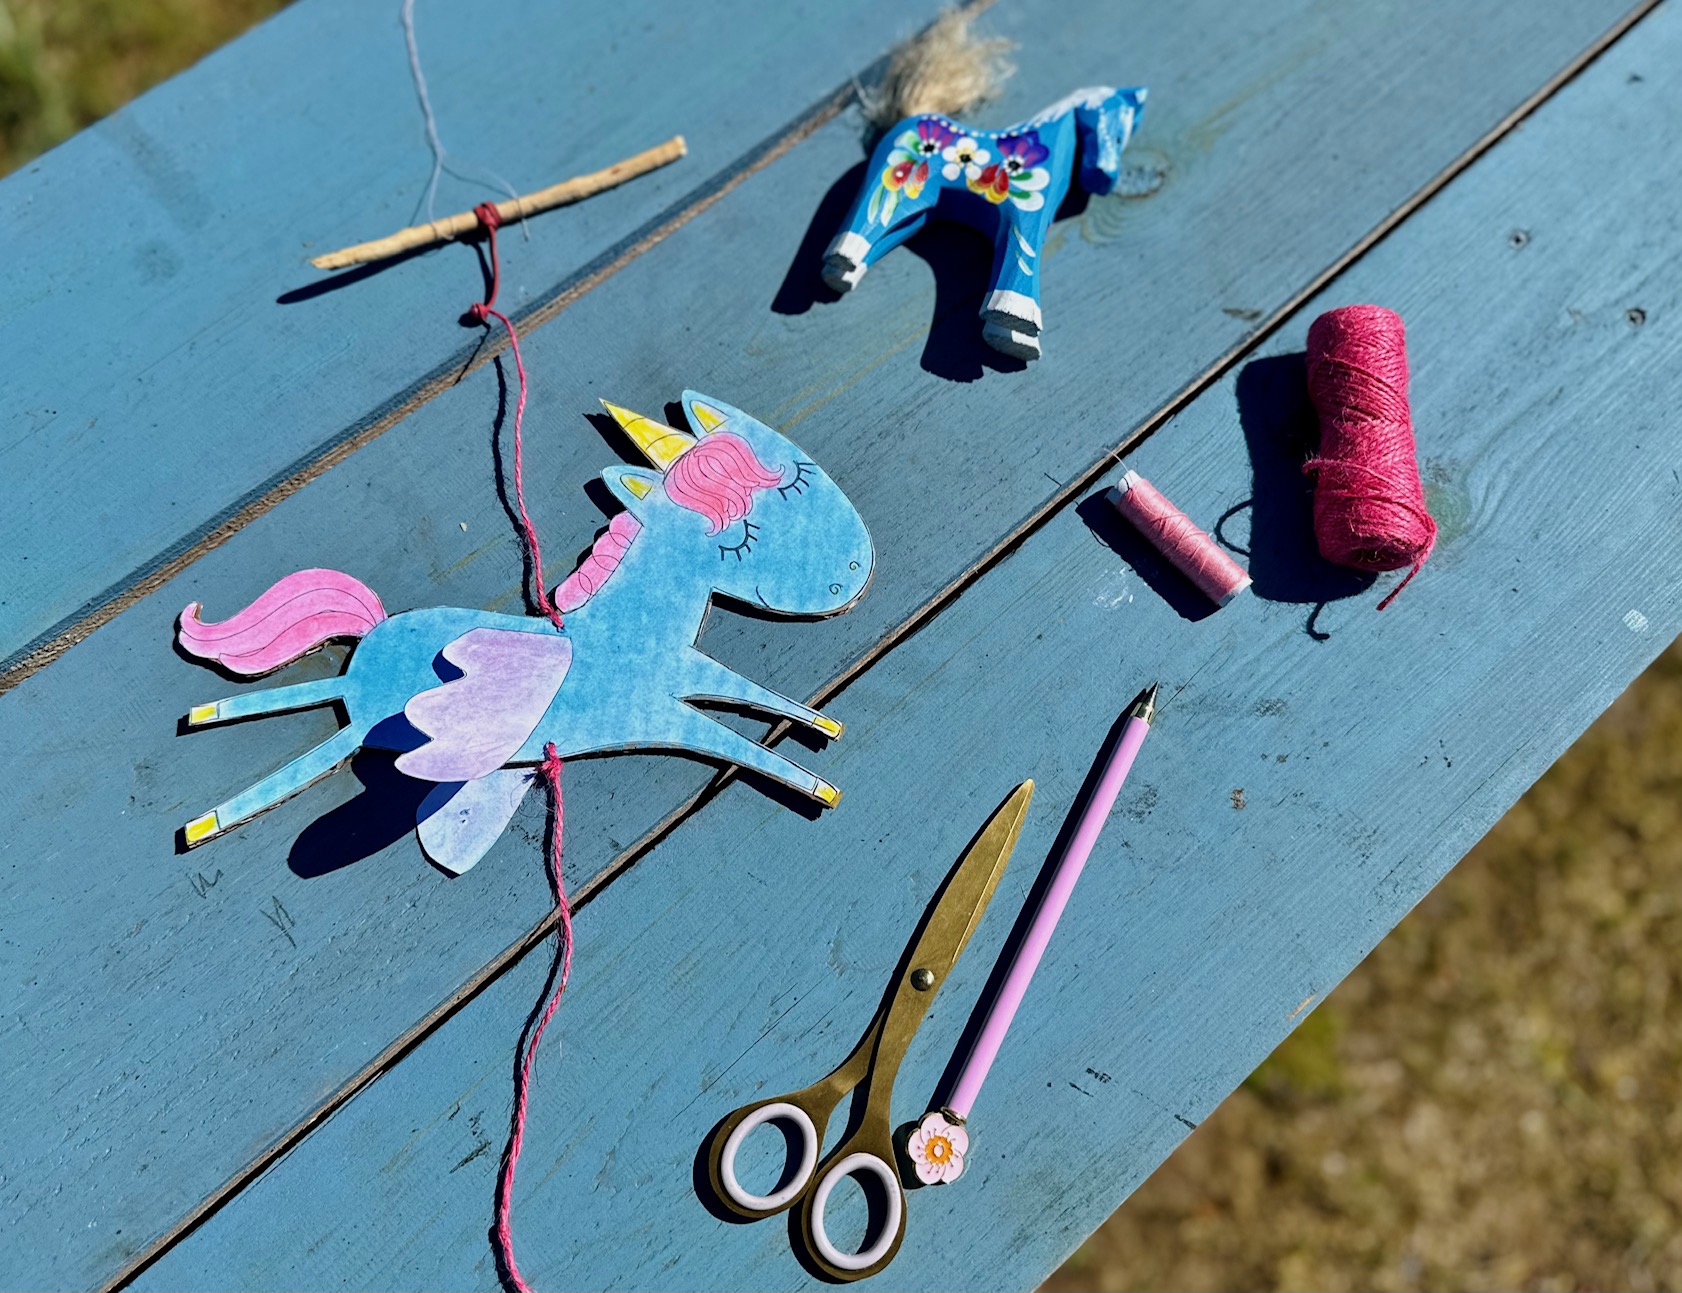
Cardboard or stiff cardboard
-
Glue - preferably in stick form
-
Elastic string or a regular rubber band
-
String (e.g. cotton)
-
Thread or thin line for hanging
- Scissors

How to Make a Paper Pegasus – DIY Step by Step
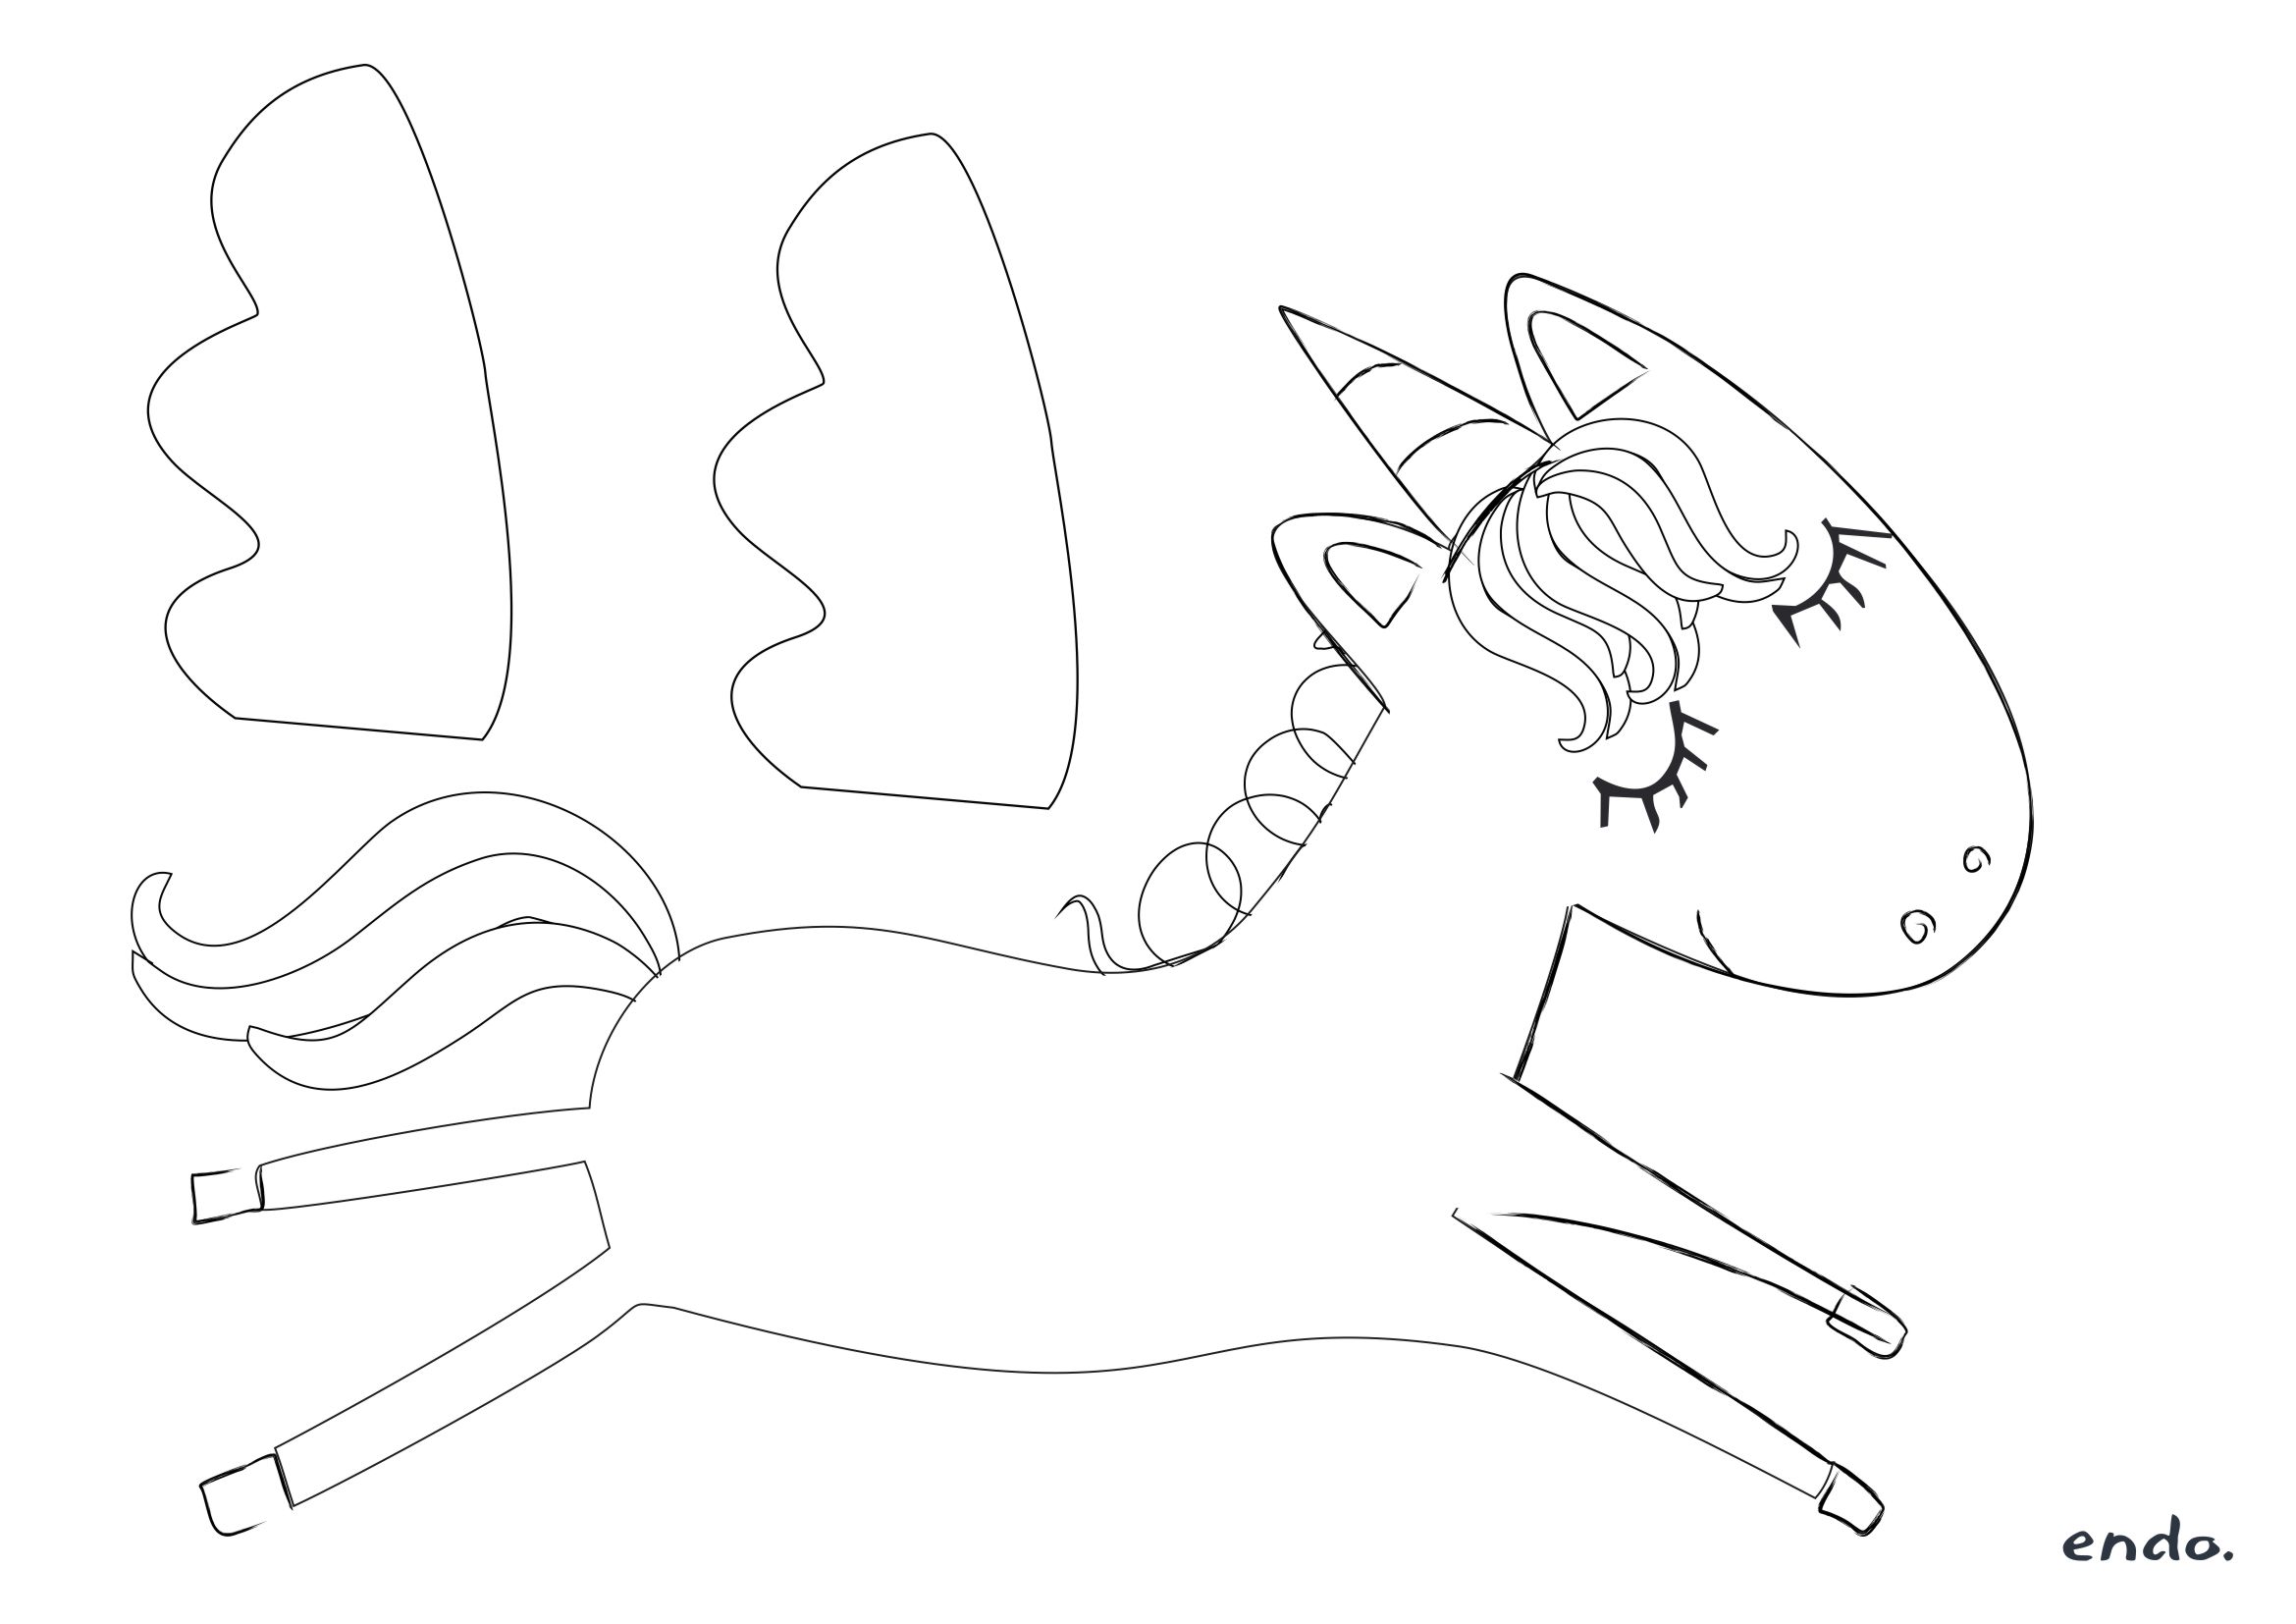
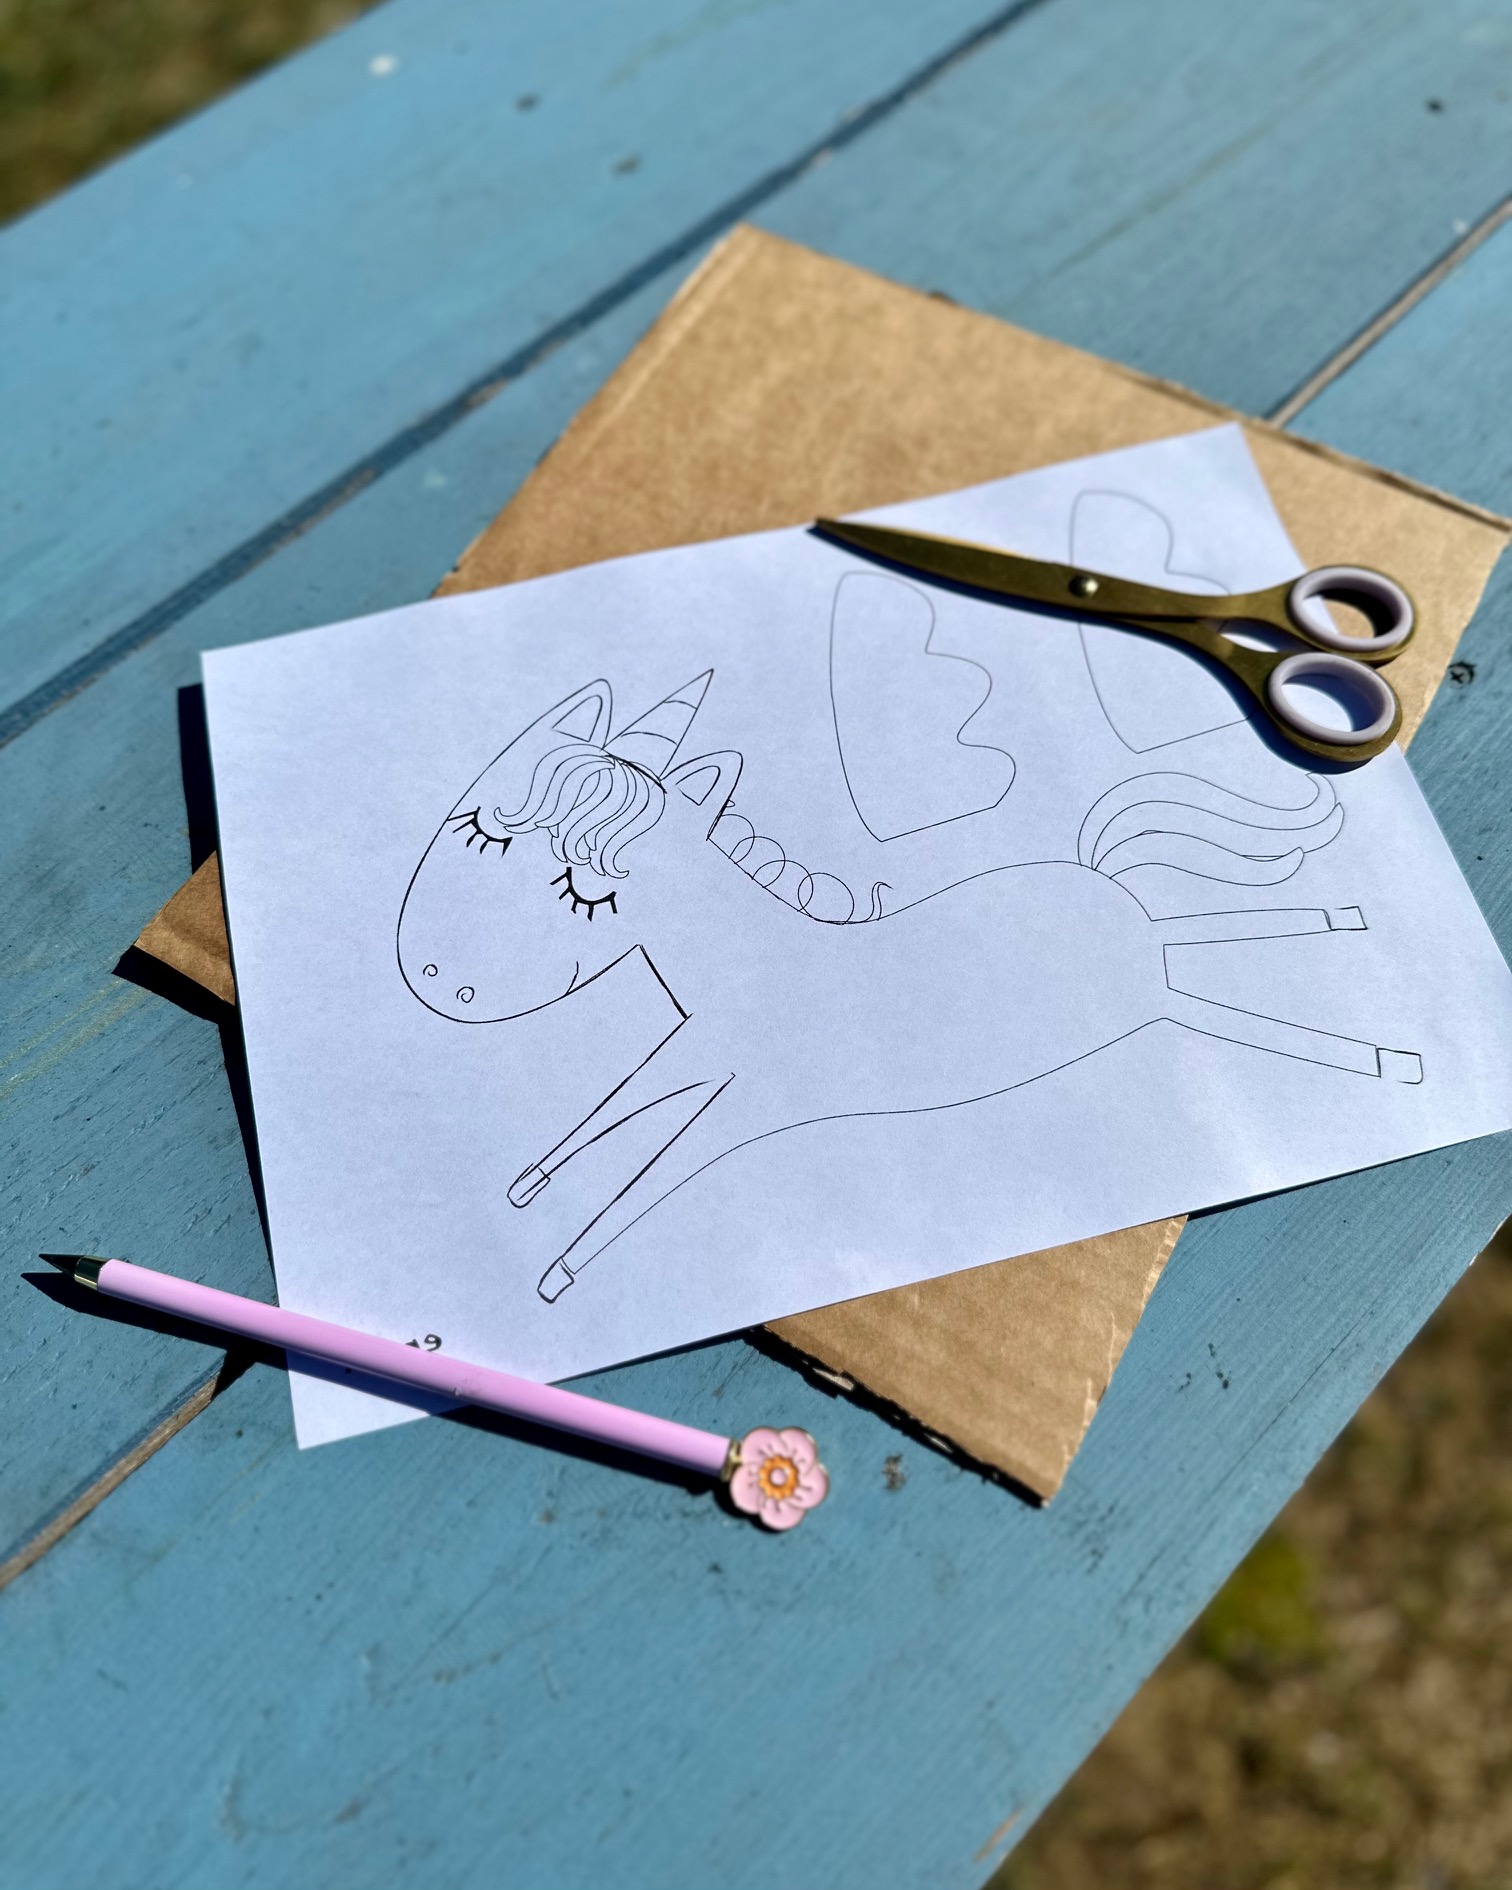
1. Download and print the template
A free Pegasus template is available on our website – perfect for printing on regular A4 paper . If you prefer, you can use thicker paper or back it with cardboard. The template should be printed twice: once normally, and once as a mirror image, so that the horse you create is double-sided.

Download template - flying Pegasus
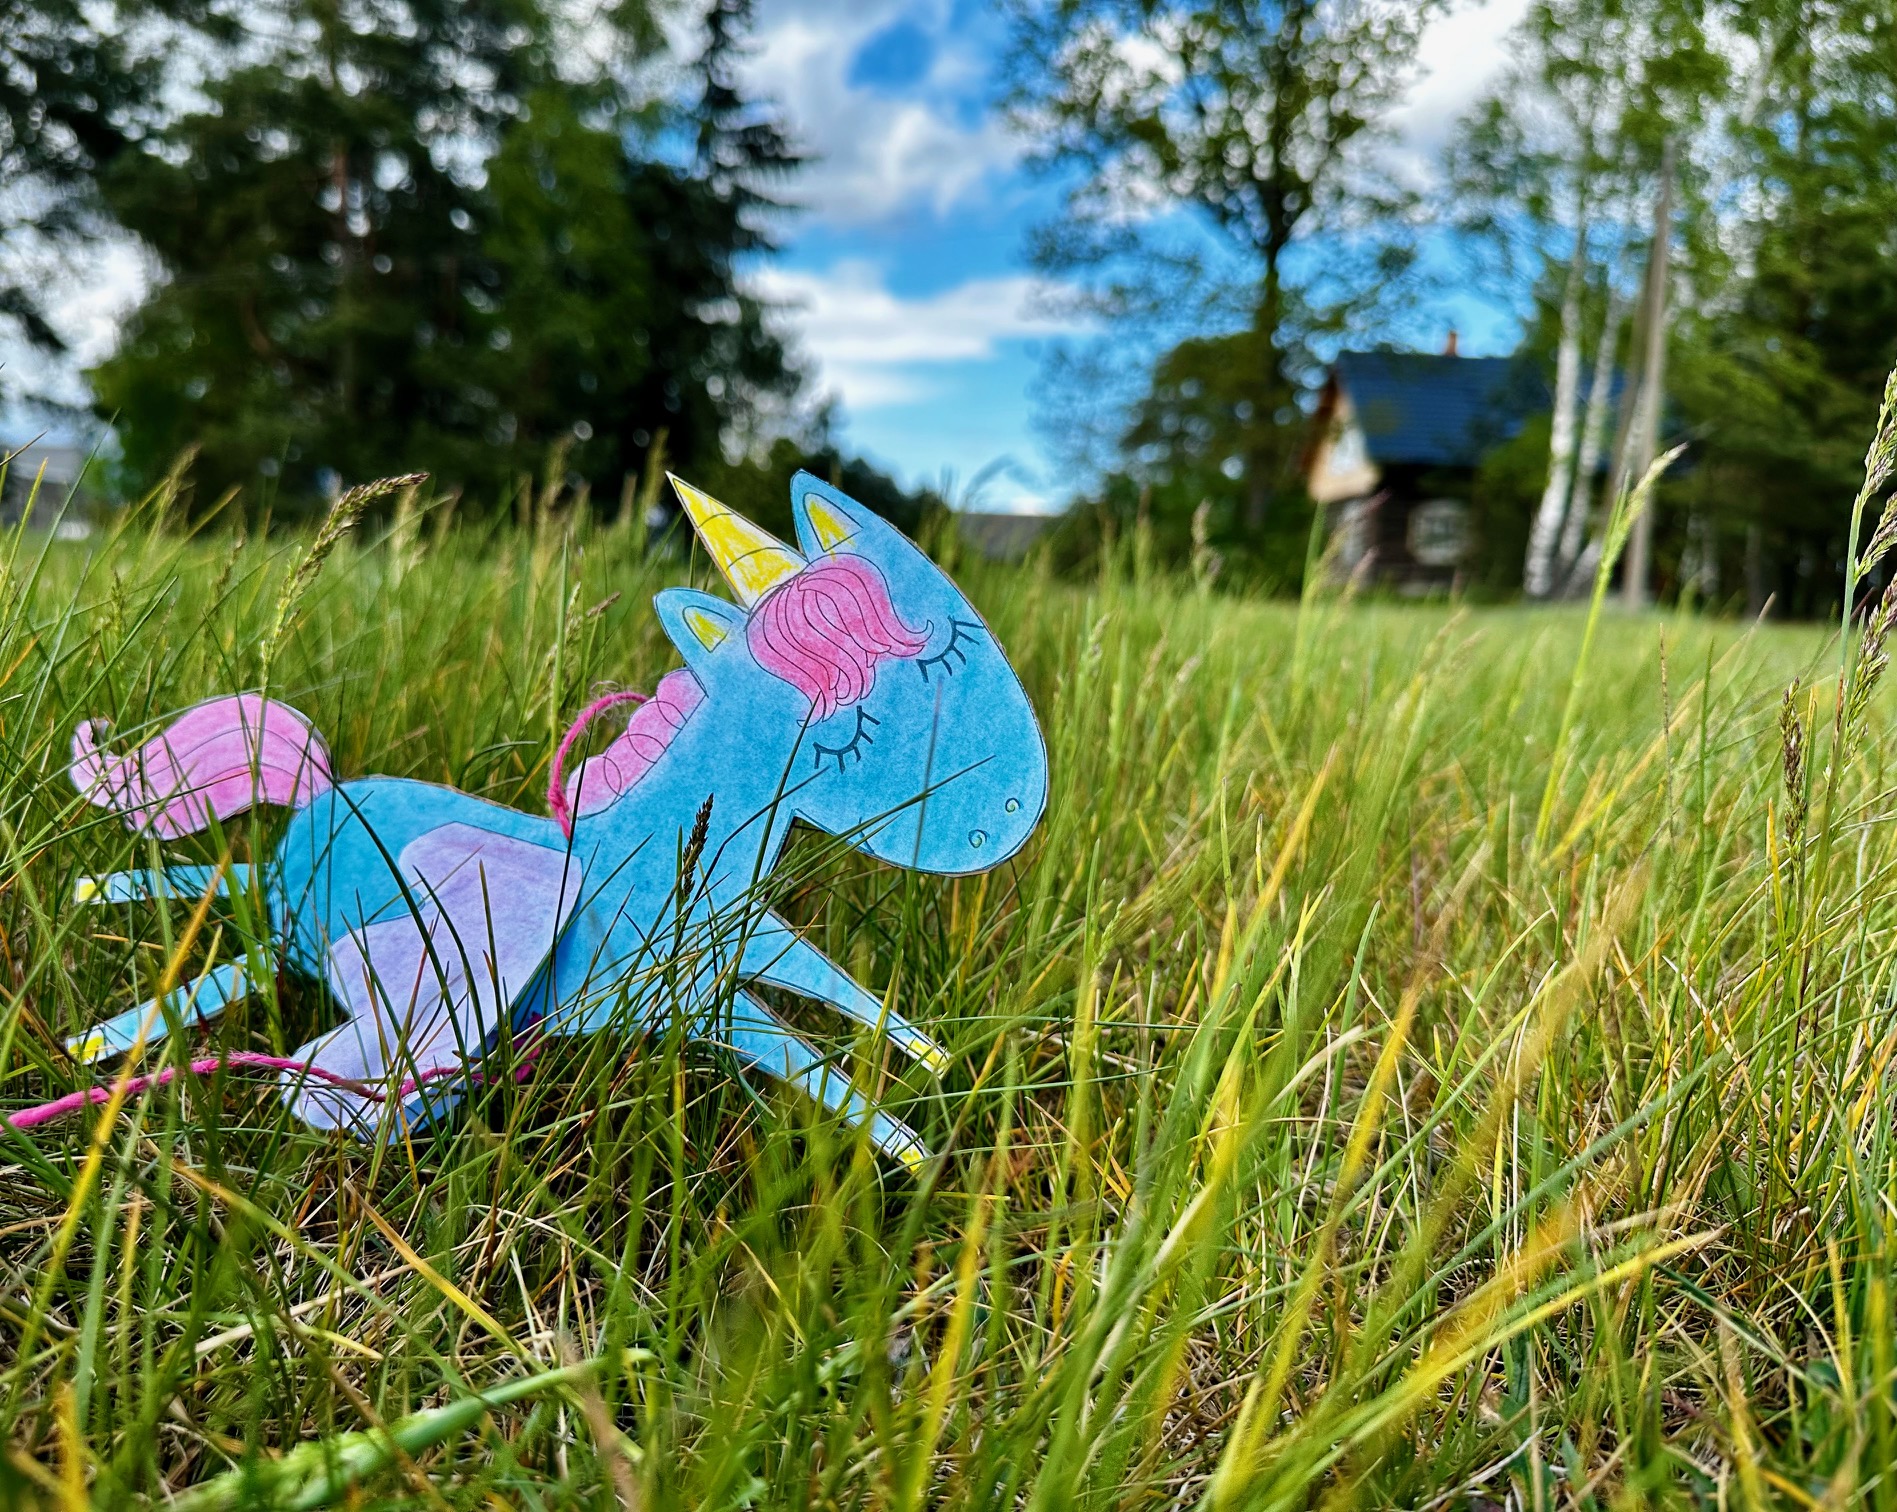
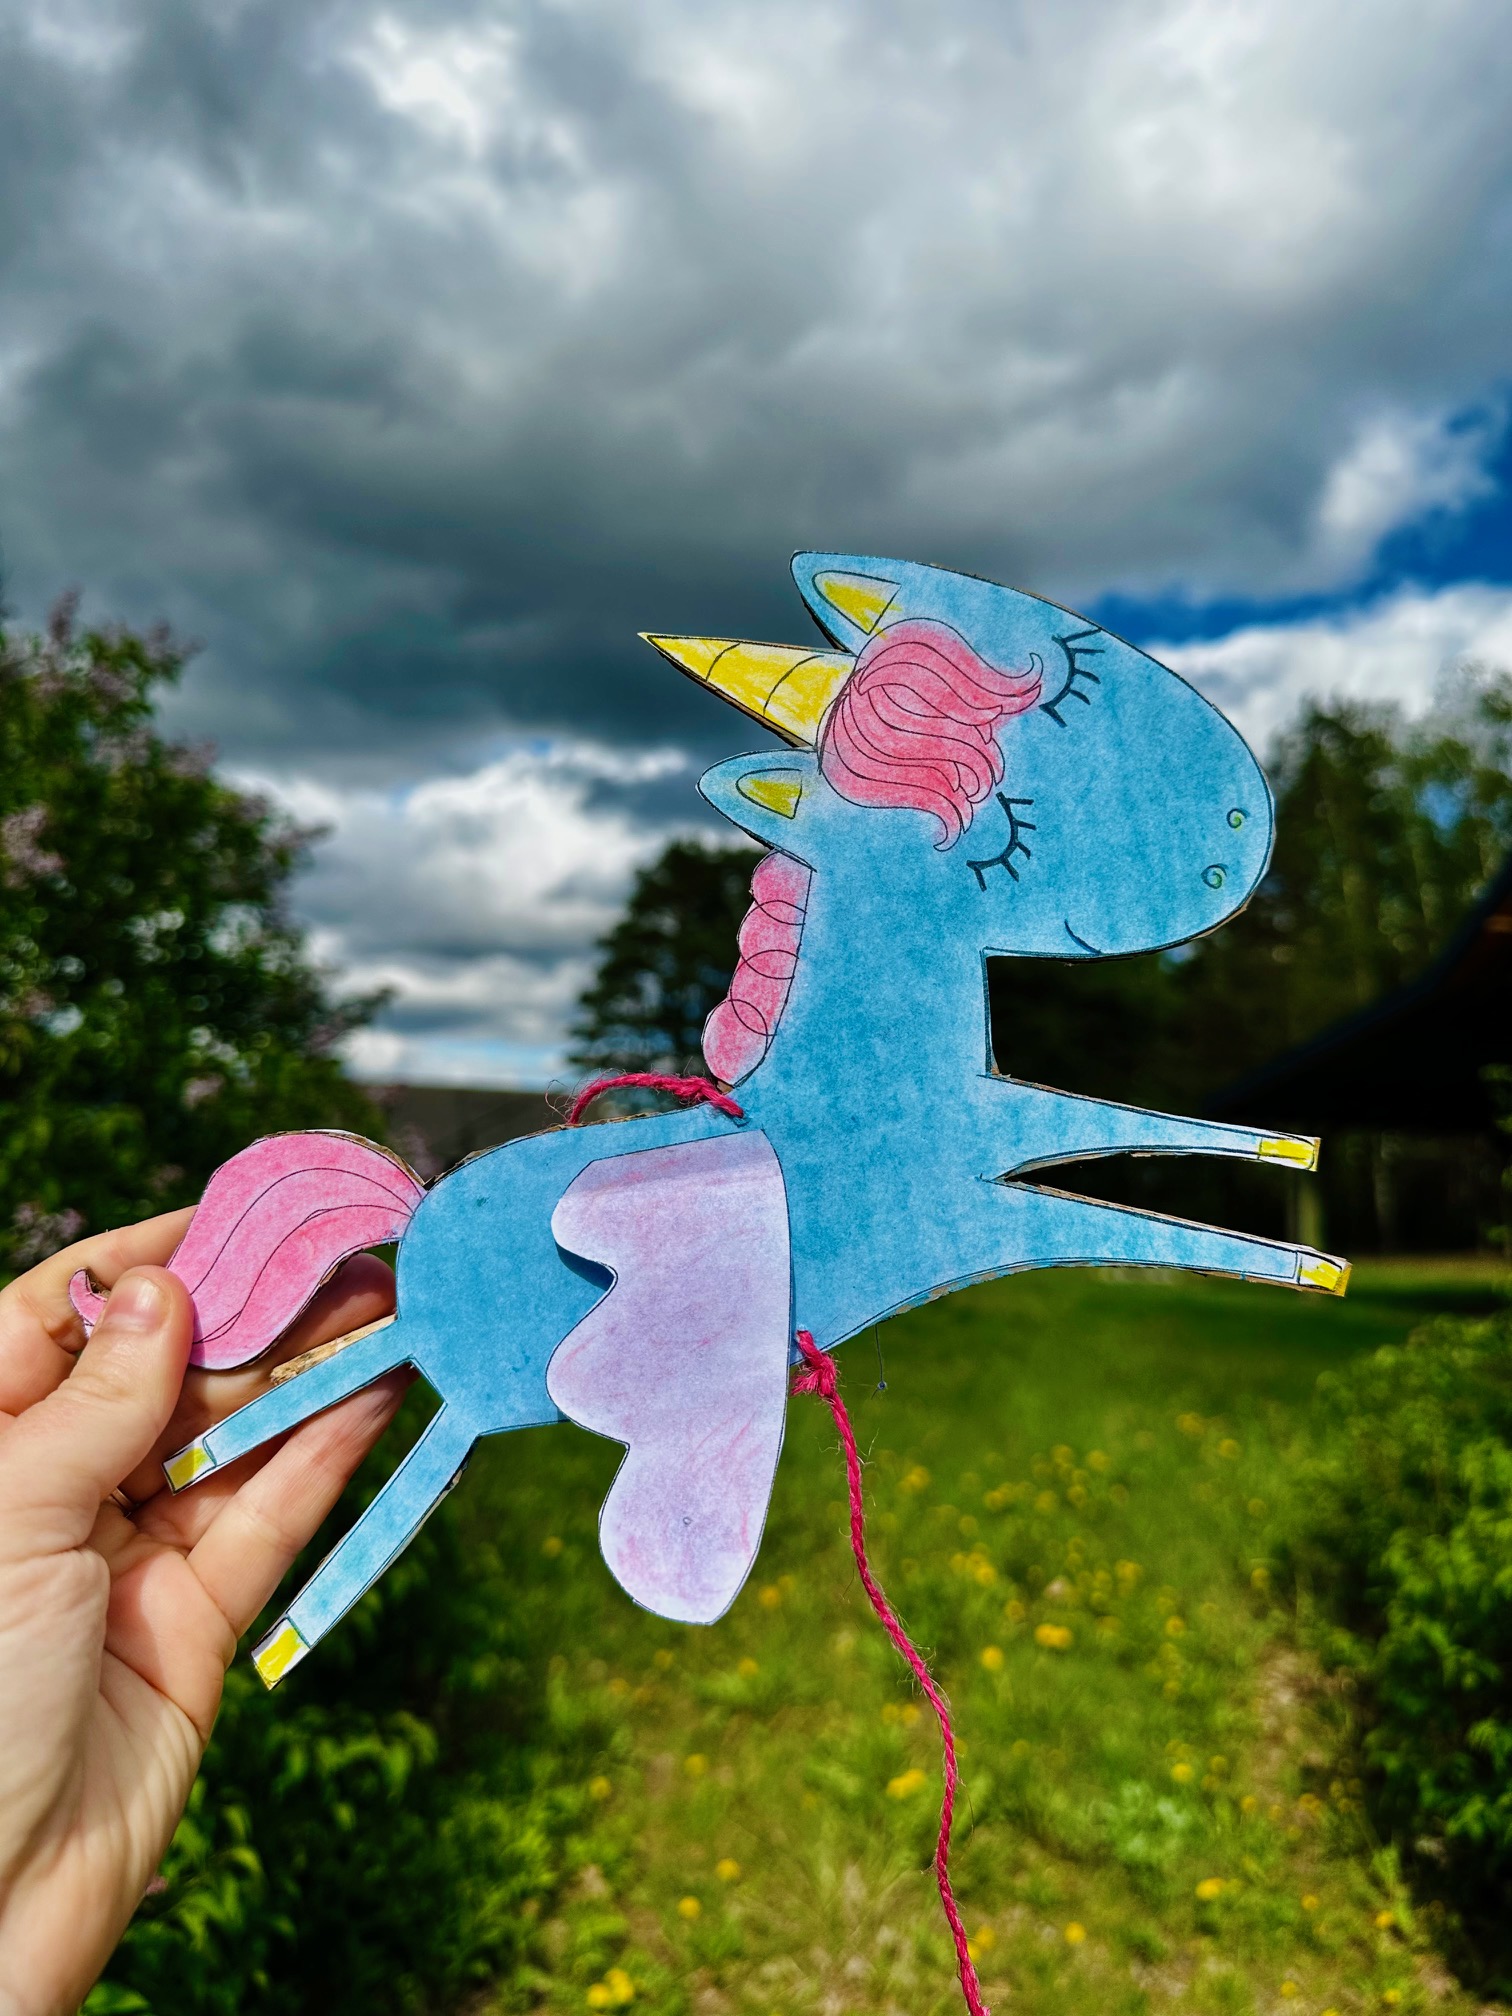
2. Color the horse template
After printing out the two templates, it's time to decorate. Here, you can let your imagination run wild and color and decorate your mount however you like.
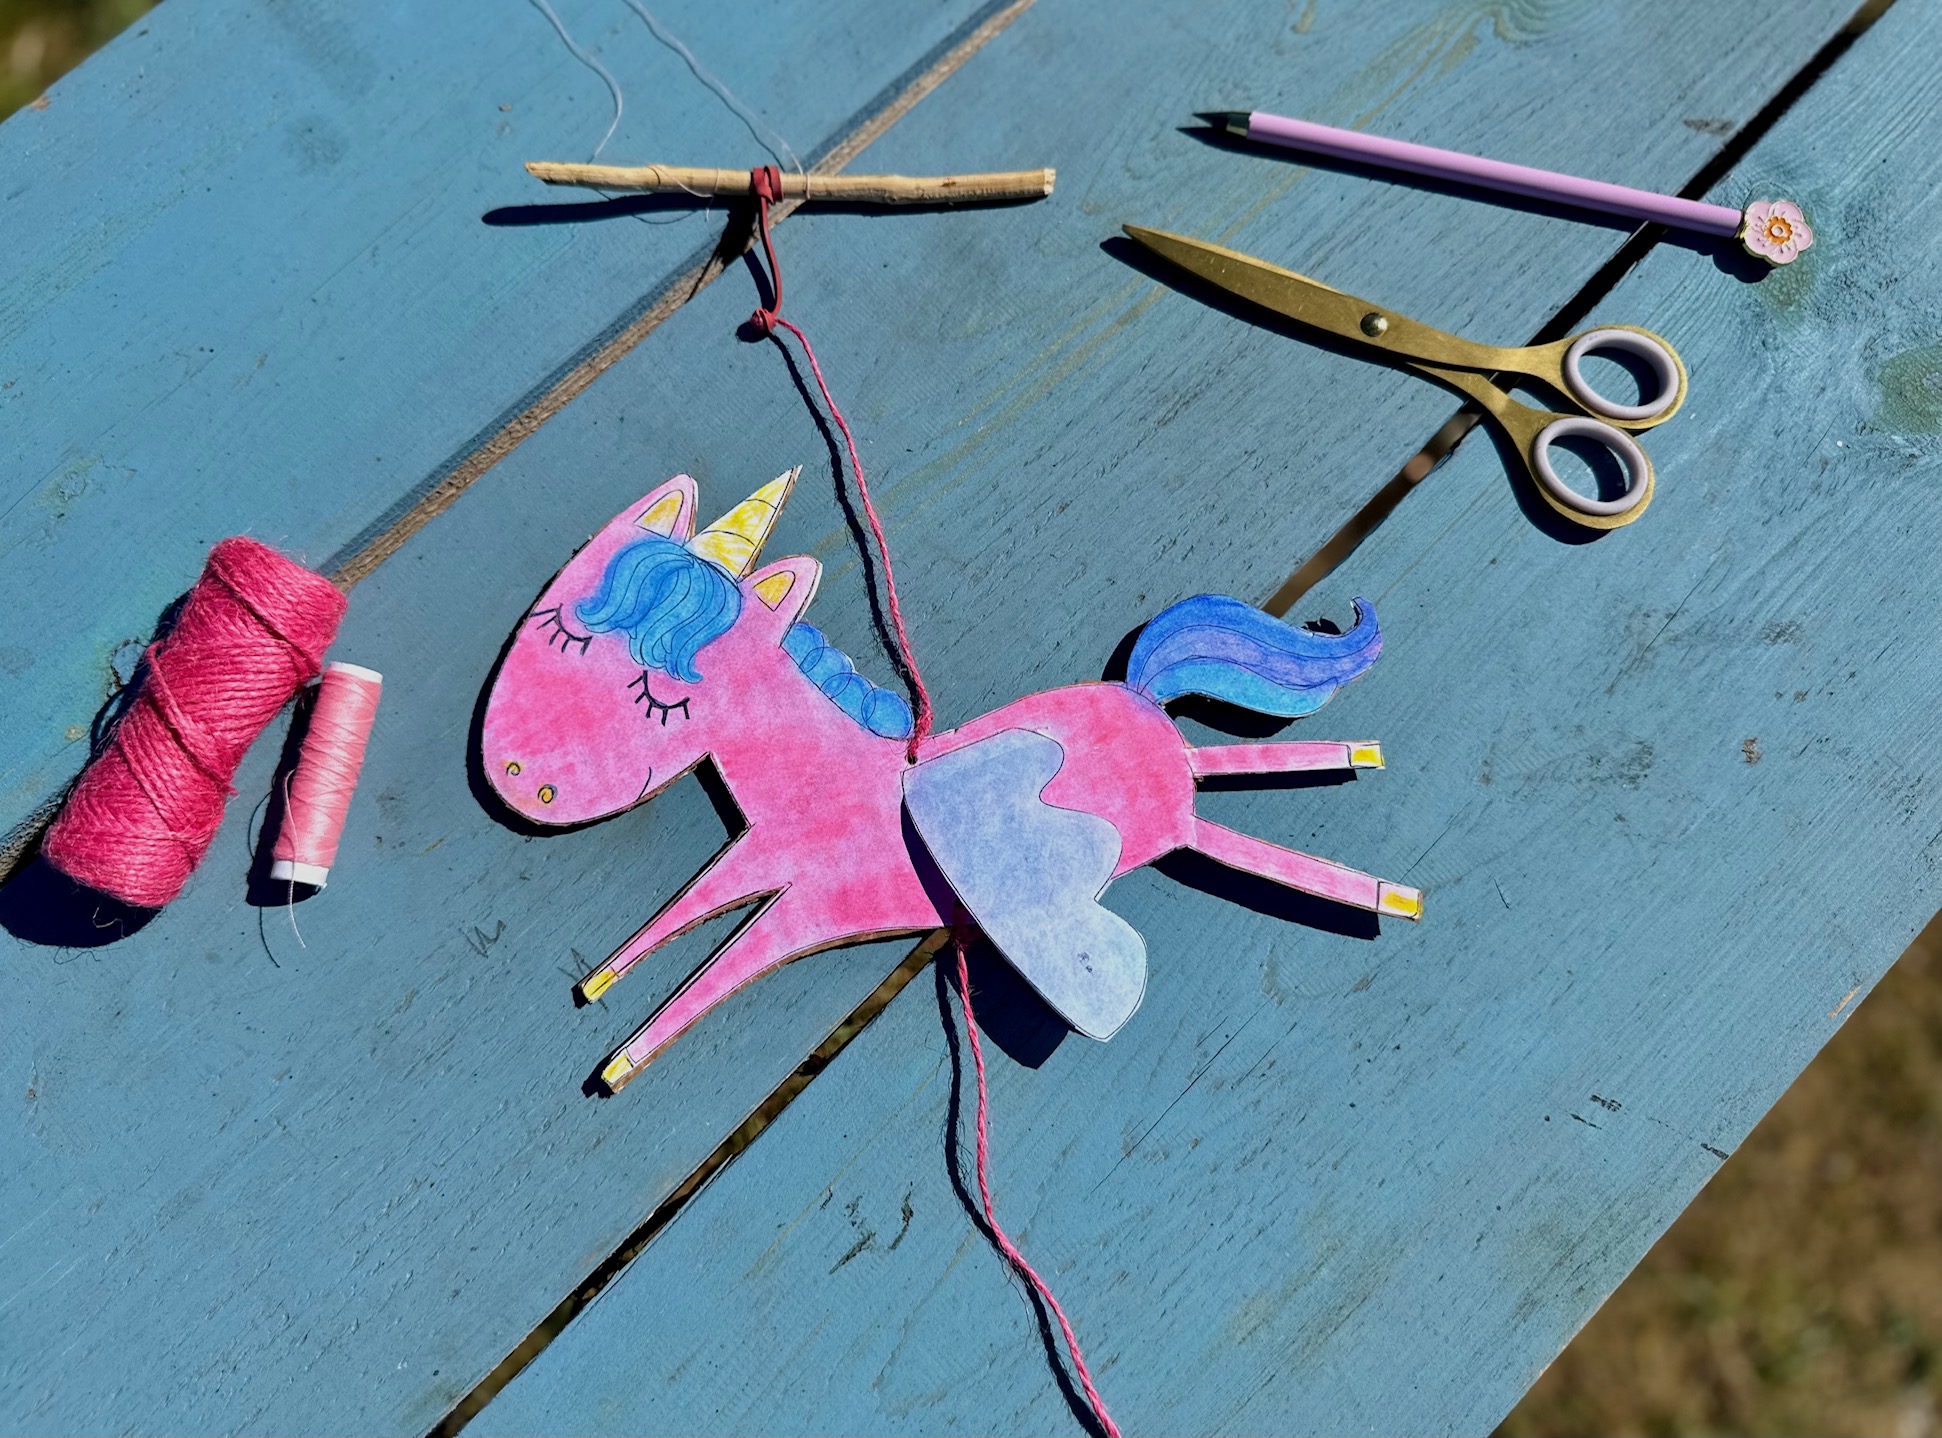
3. Stick the template onto the cardboard
This will make the Pegasus stiff and ready for flight! Use glue to attach the previously cut template to the cardboard on both sides, making the horse double-sided. It's best to attach a stiffer base to both the body and wings of the Pegasus.
4. Cut out the horse and attach the wings
Precisely cut out the horse shape with wings and decorations. Help your child in hard-to-reach areas. Then, attach the wings close to the back on both sides using glue or tape – simply glue a narrow strip of wings to the body, leaving the rest of the body free to move.
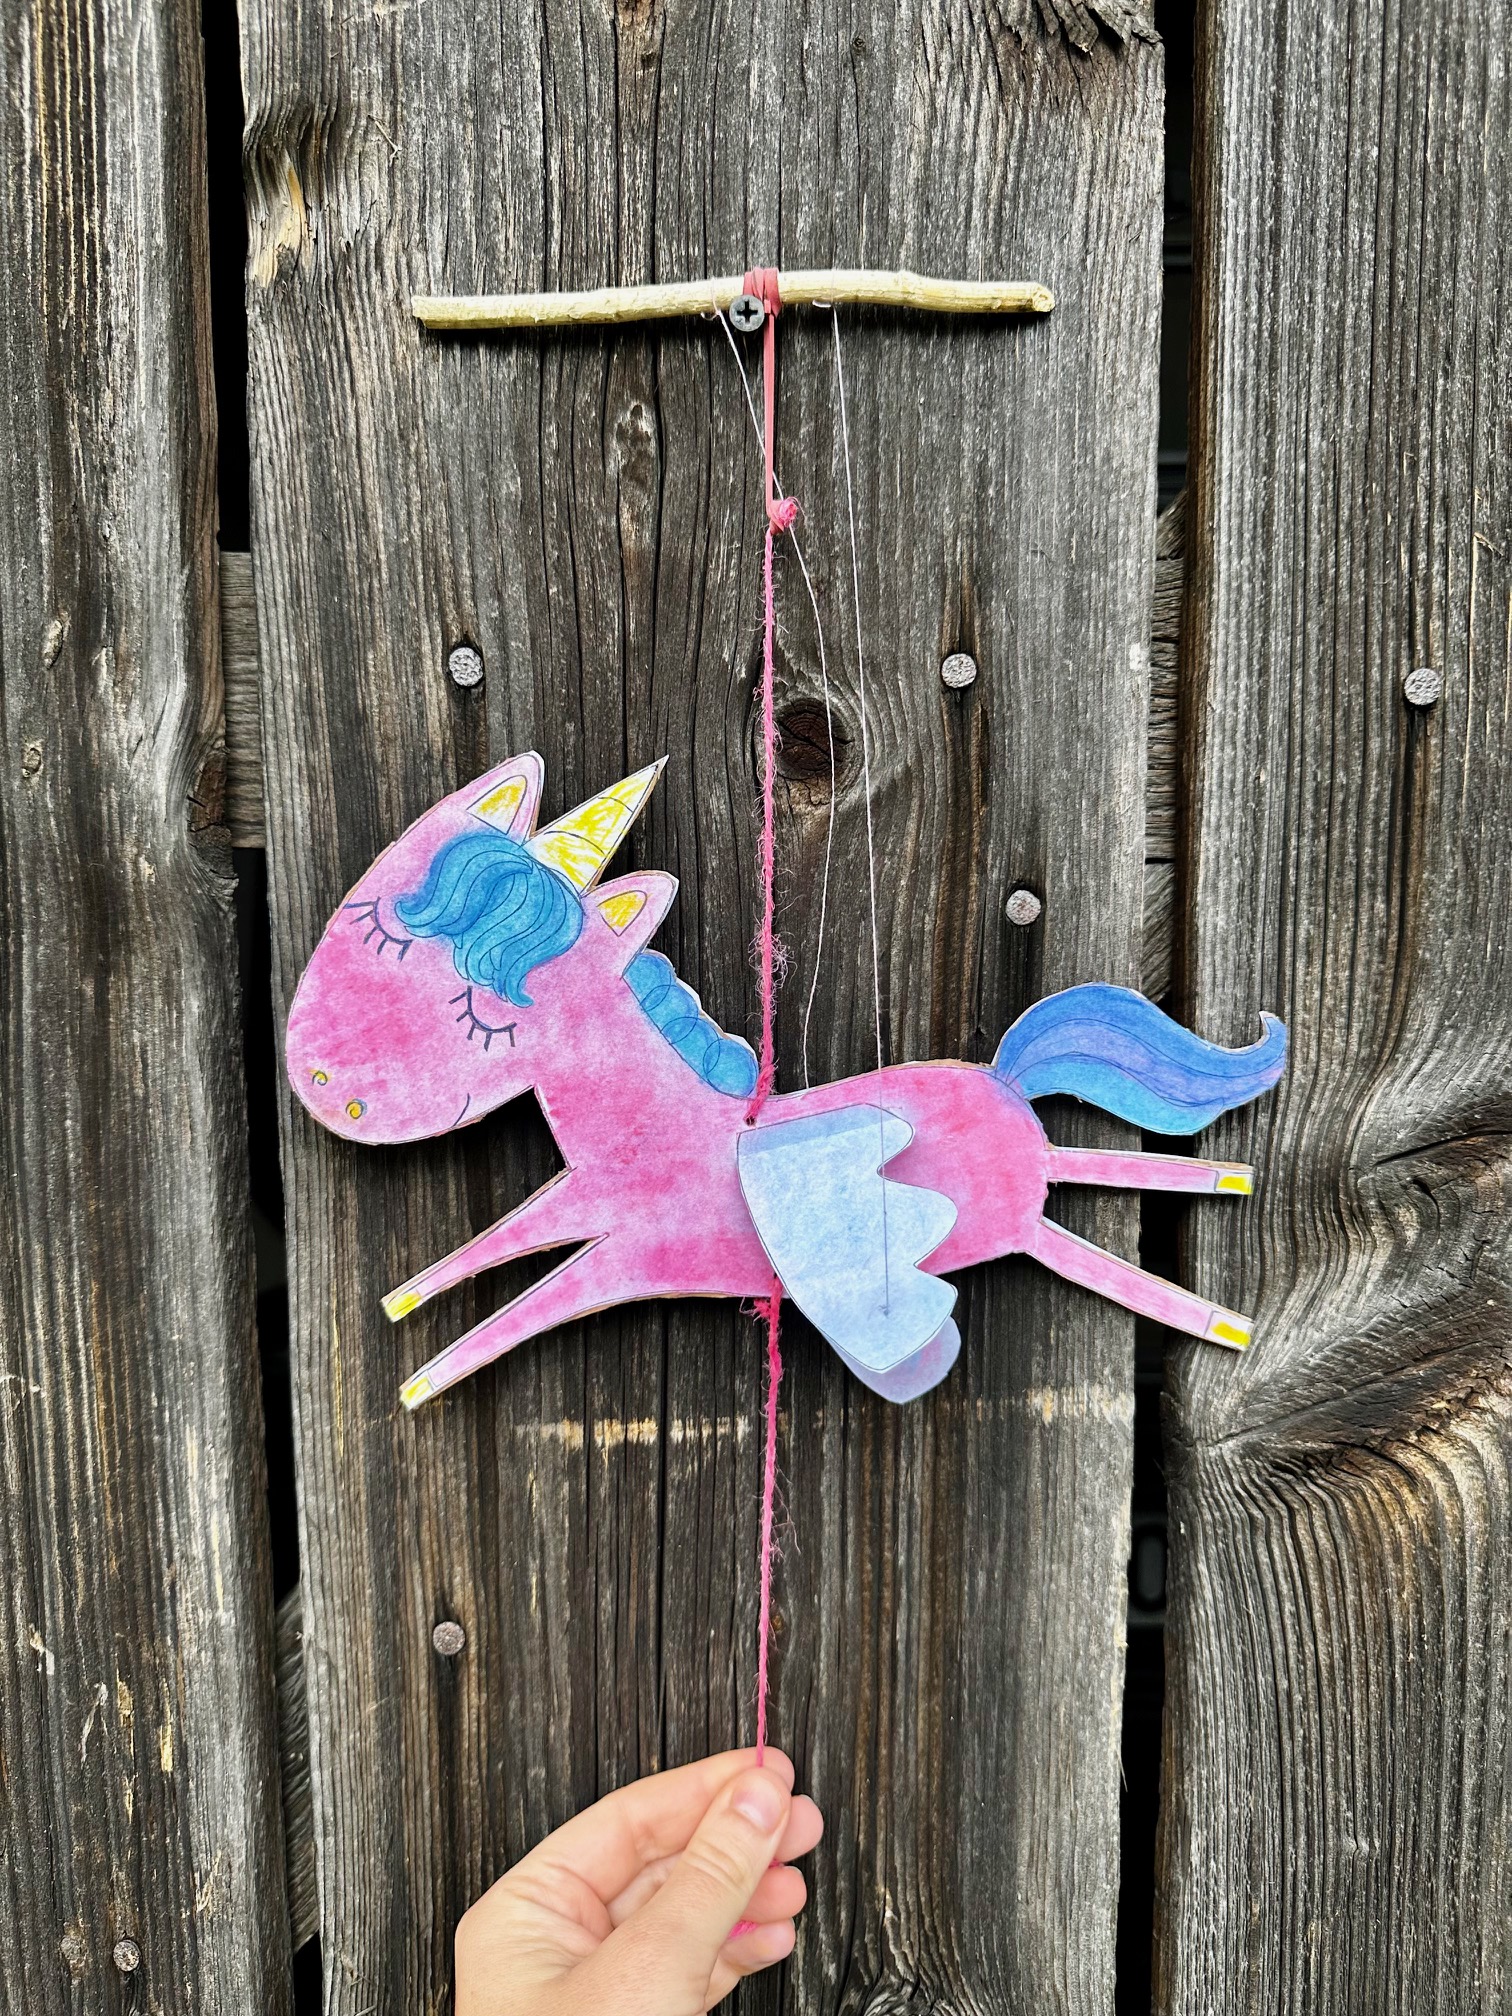
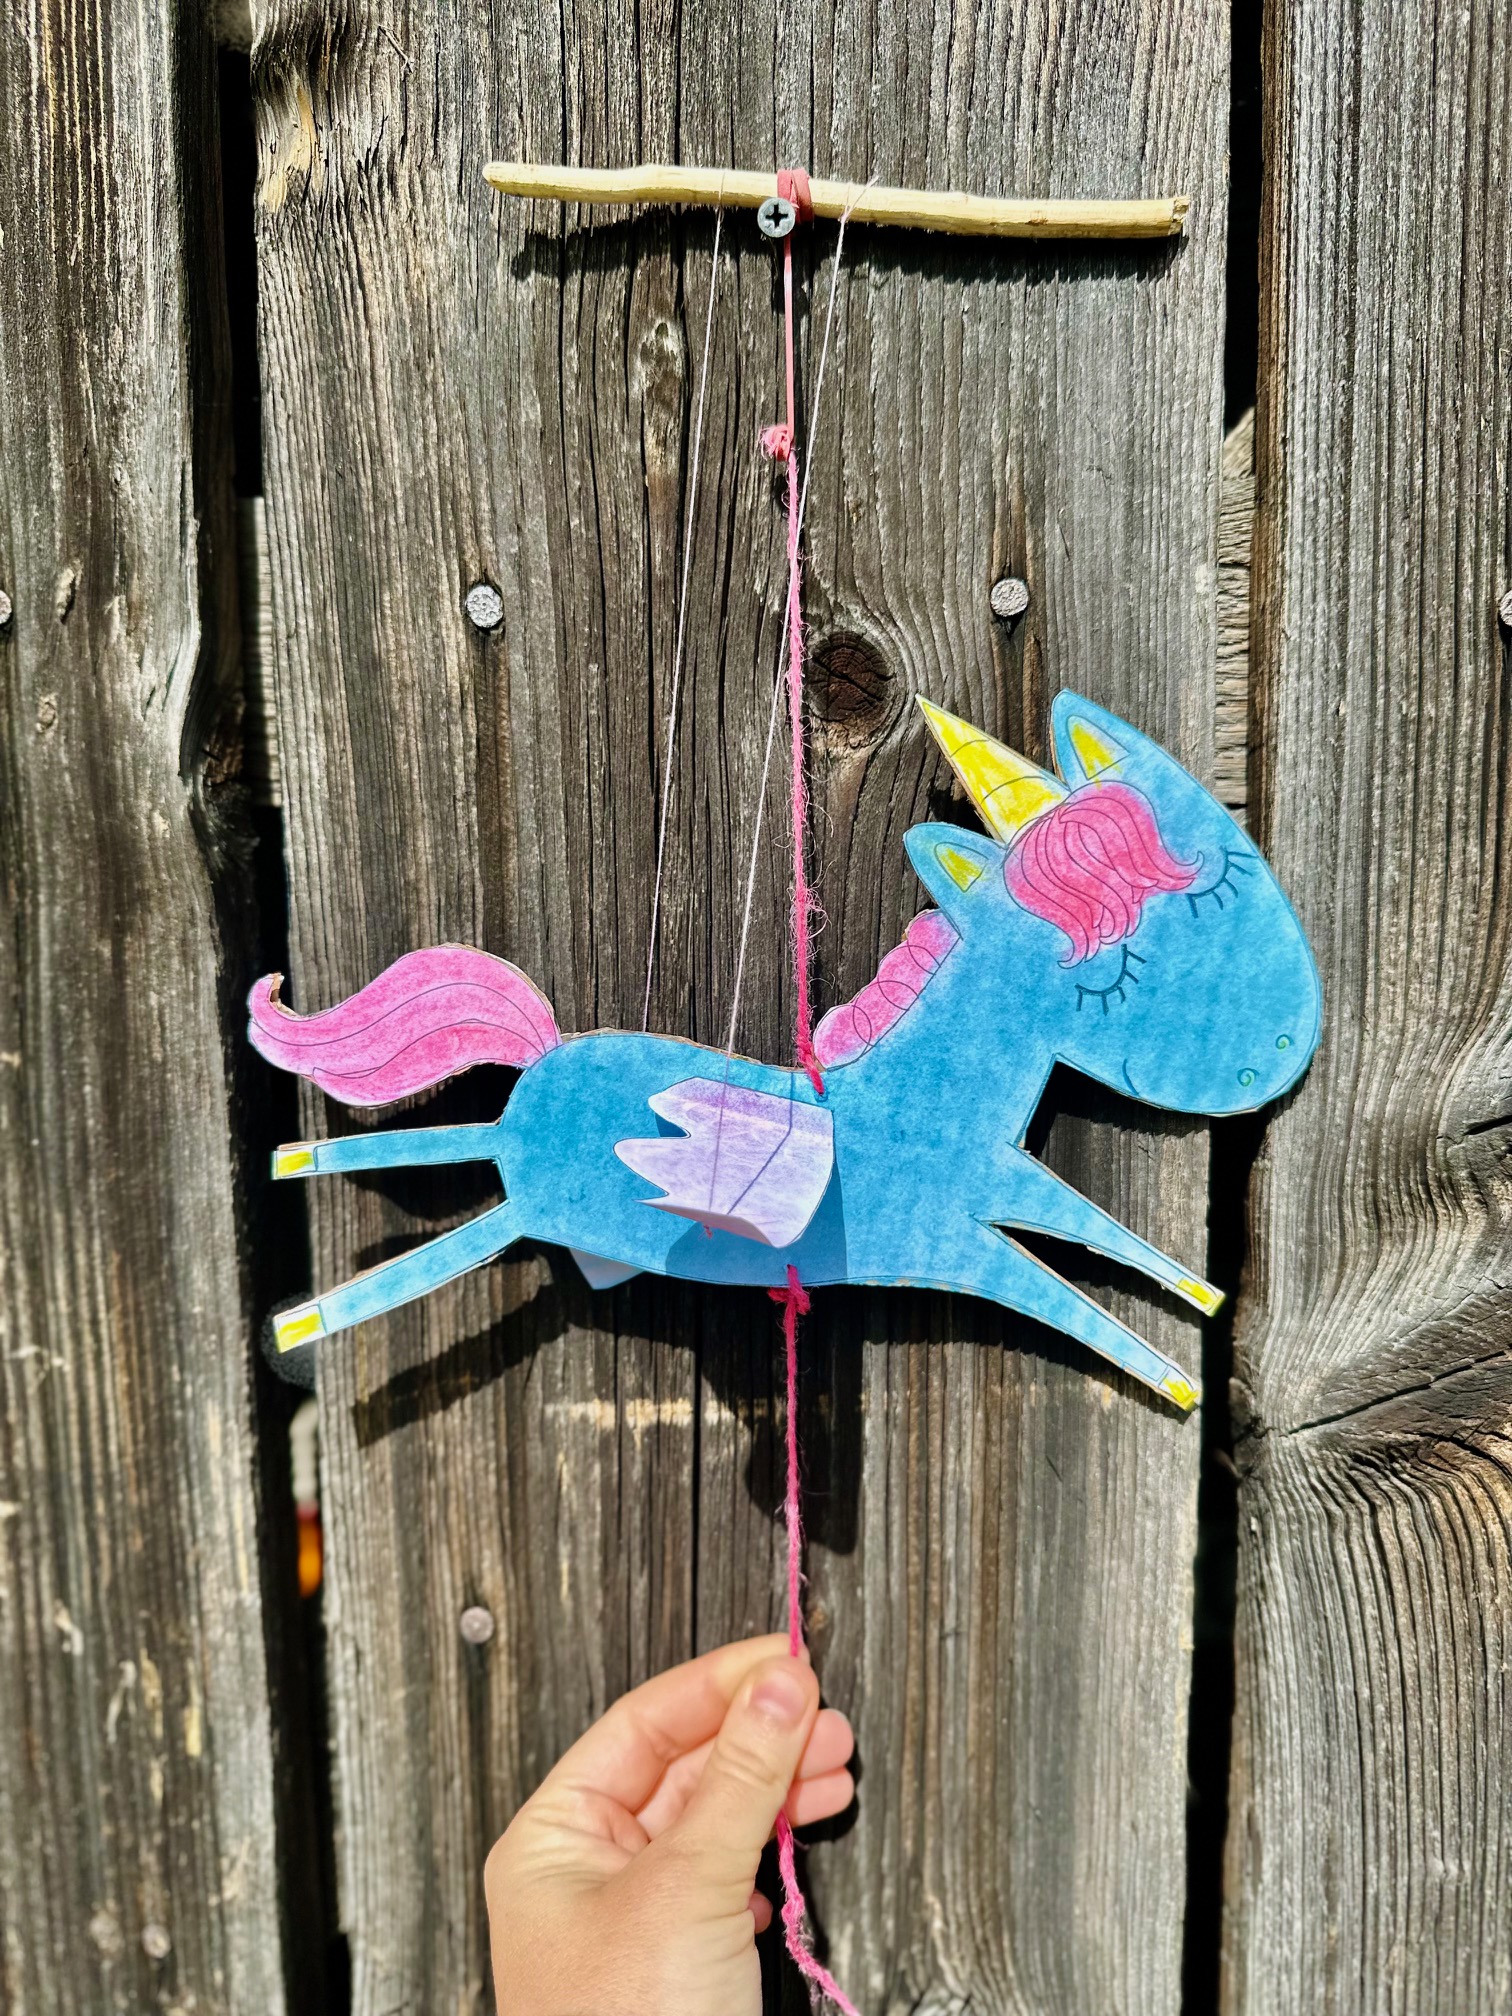
4. Hang Pegasus on a string
Make two small holes in the horse's body – one near the mane, and the other (ideally in a straight line from the first) near the lower belly. Thread a string through the top hole to hang the horse. You can use elastic here, or like we did, you can add a piece of rubber band to a regular string . It's important that at least a piece of this string has some spring to it. Attach the top piece to a stick or a strip. Then thread the second string through the bottom hole – this will be the handle. Pulling it down will propel the pegasus. You can add a bead, for example, to make it easier to grab and as an additional decoration.
The final step is attaching the wings. Punch a hole in each wing and, depending on its thickness, thread a string or regular thread through it. Attach the other end to the stick/slat mentioned earlier – it's best to choose a thread length that will reach the stick when the wings are fully lowered.
5. Flying Pegasus
Grab the stick or hang it with one hand and pull the bottom string with the other. As the horse descends, its wings flap upward thanks to the elastic band! Wow! Your Pegasus is soaring !


Podziel się:
How to Pack a Child for Summer Camp or Summer Camp? A Checklist of Essentials
Gift ideas for Children's Day - which gift to choose?