
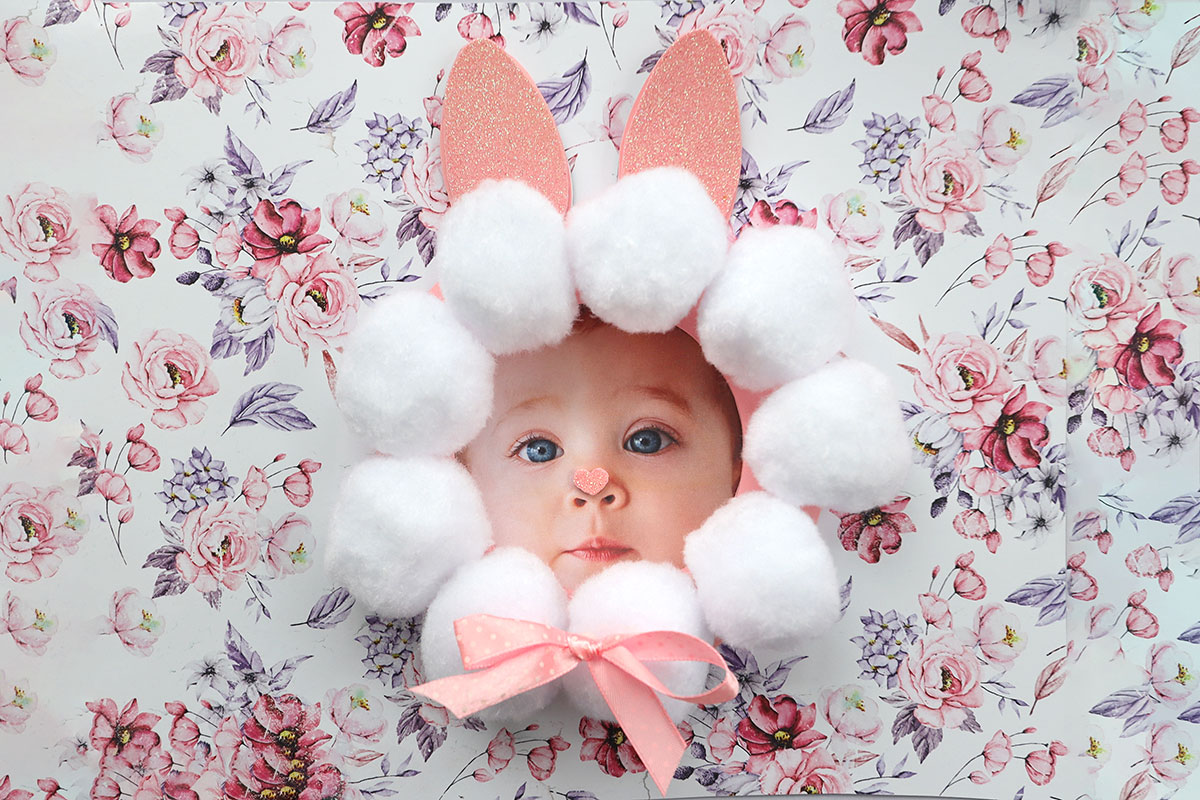
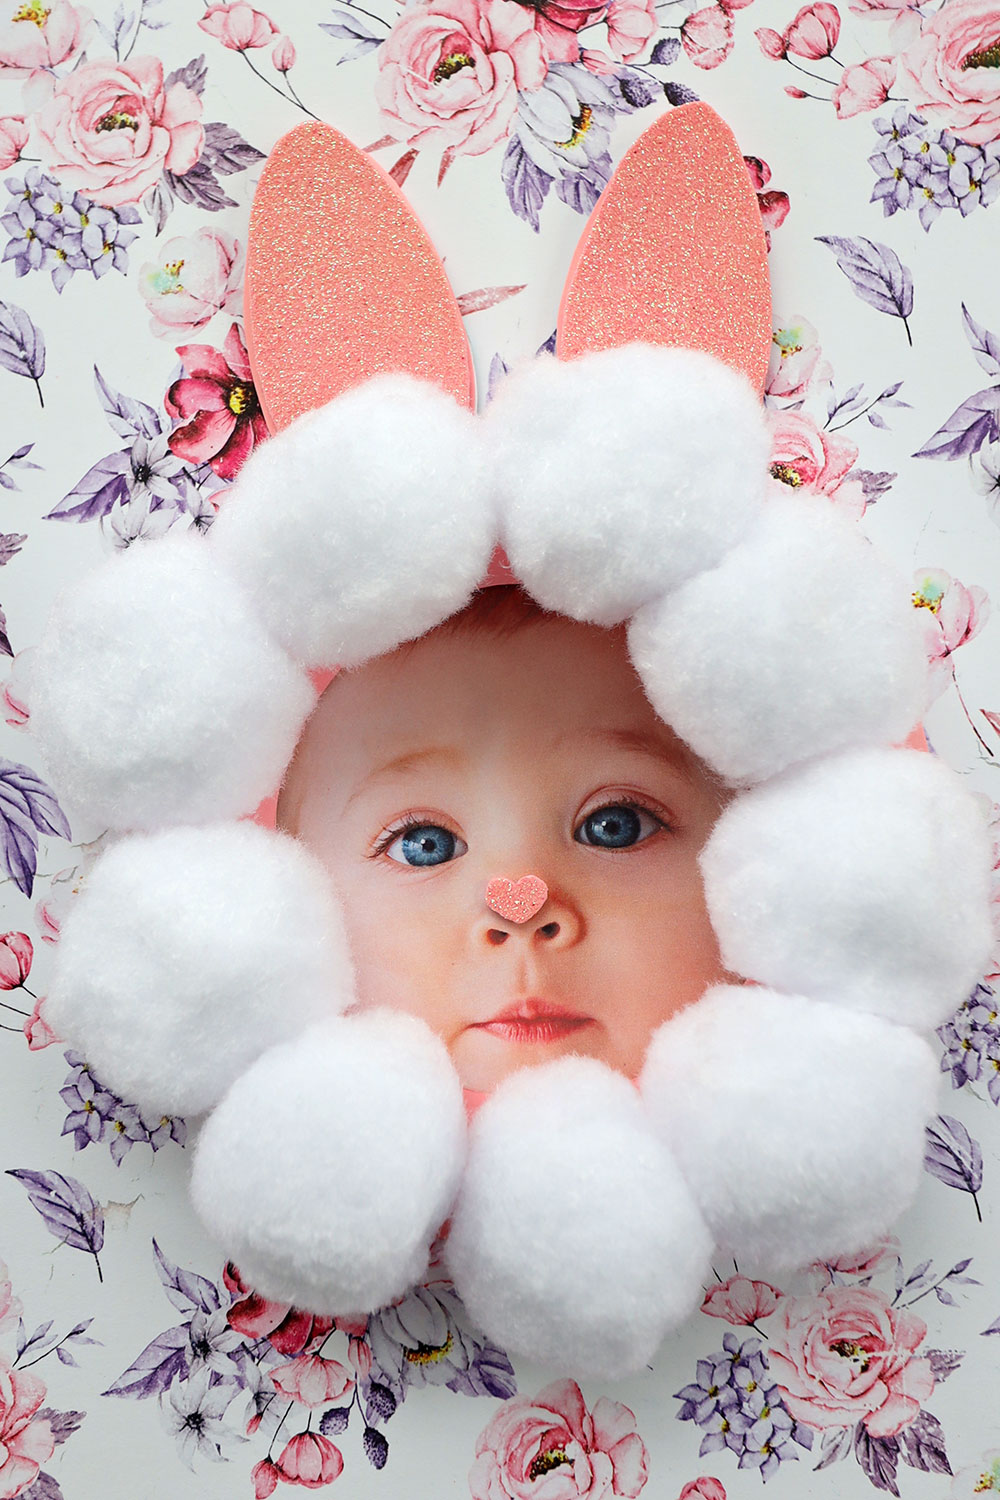
Wishing your loved ones on Easter cards is a wonderful tradition. Create wonderful, personalized cards with Easter bunny faces together with your children. The recipient will be delighted to discover that the little bunnies on the cards are actually photographs of the little ones.
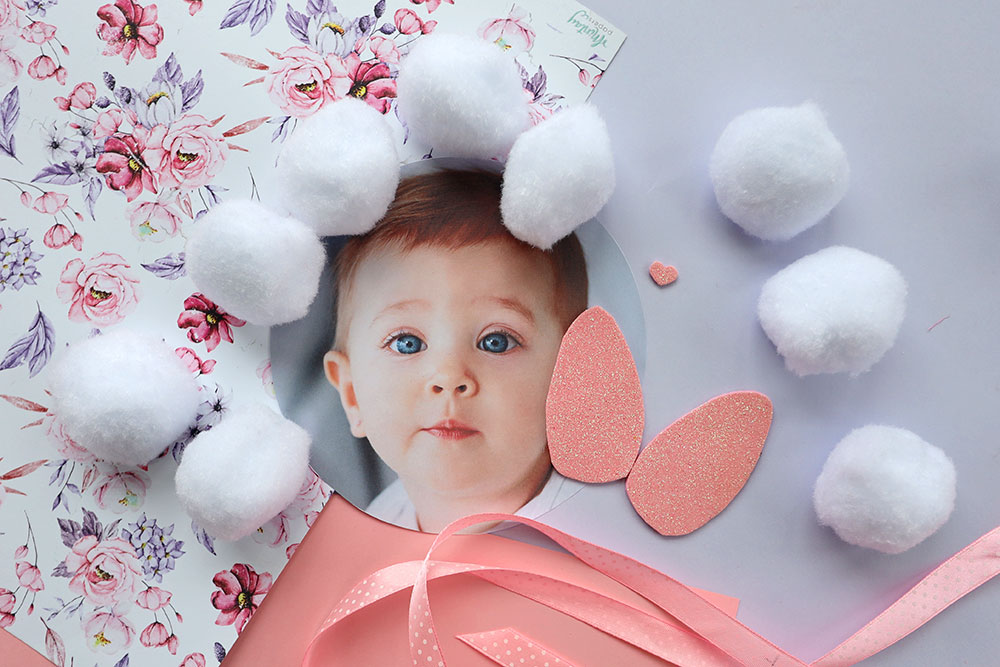
- A4 sheet of colored technical paper in the color of your choice
- Glitter foam or self-adhesive fleece for the outside of the ears
- Decorative paper for the ears on the inside (optional)
- A photo of a child cut into a circle
- White pompoms or cotton wool
- Ribbon (optional)
- Scissors
- Glue
- Knife (optional)
- Cutting mat (optional)
- Fineliner
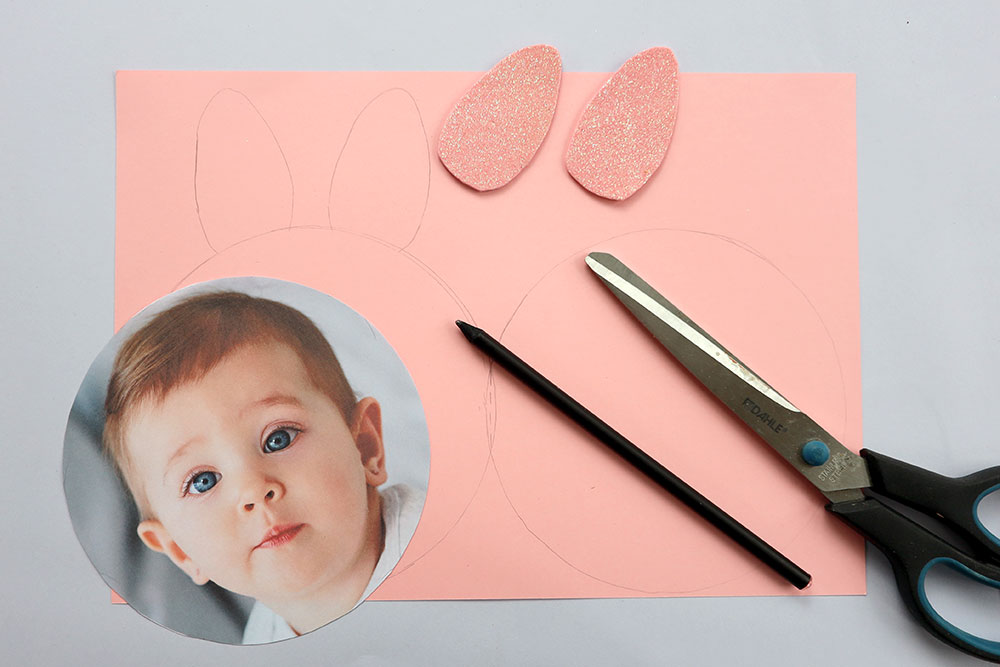
Step 1 - Cut out the ears and nose
From glitter foam, cut out rabbit ears and a tiny heart-shaped nose. Instead of foam, you can use pink, self-adhesive felt. Trace the ears onto decorative paper and cut them out as well.
Step 2 - Preparing the photo
We print a portrait of the child approximately 1/2 the length of an A4 sheet of paper. We trace a circle on the photo and cut it out.
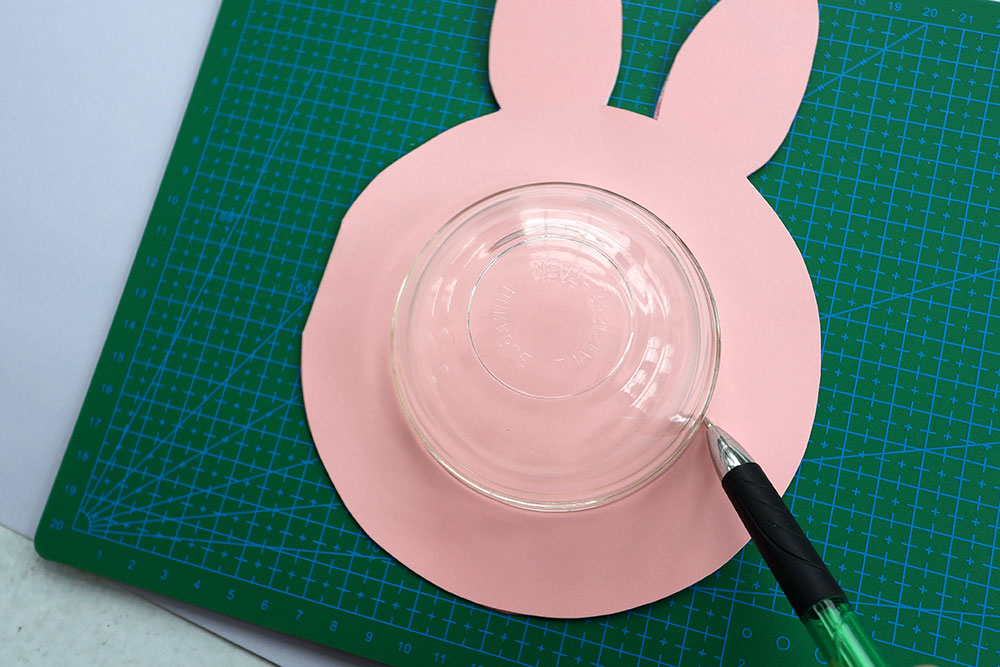
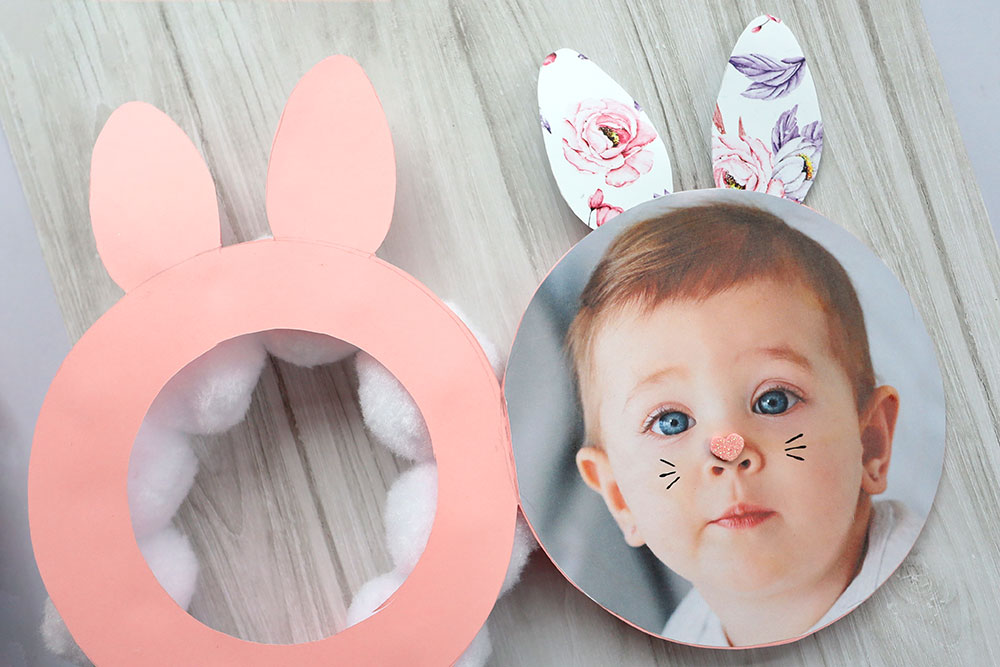
Step 3 - Draw and cut out the shape of the card
Place the child's photo on a piece of A4 paper and trace it. Then, move the photo along the paper to trace its other half. The two halves should overlap slightly. At the top of the circles, draw the prepared foam ears. Cut out the entire piece.
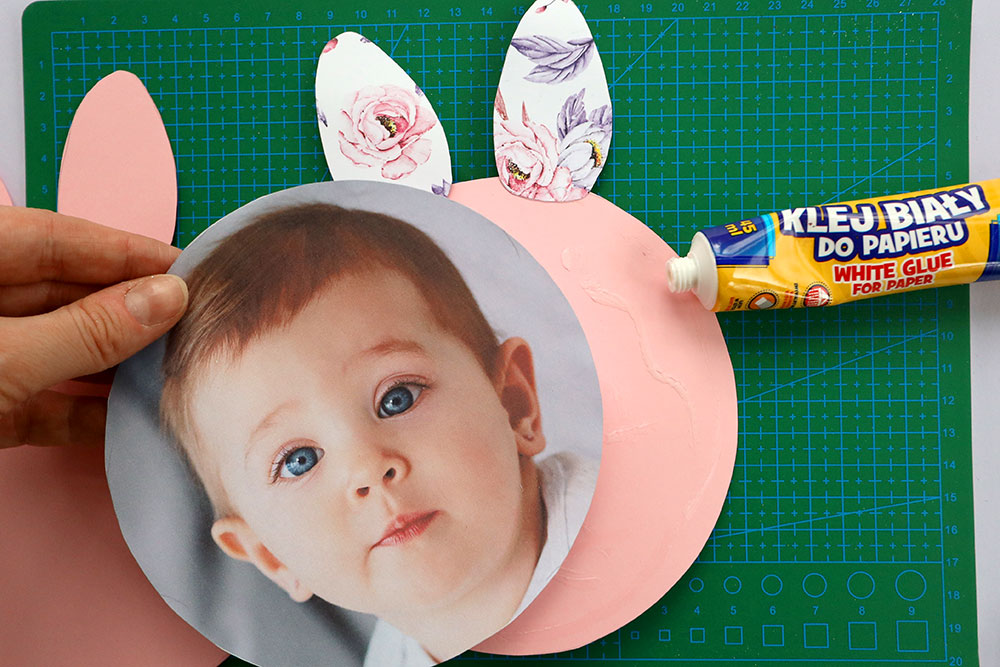
Step 4 - Glue the photo and inner ears
We glue ears made of decorative paper to the right, inner side of the card and then stick a photo of the child.
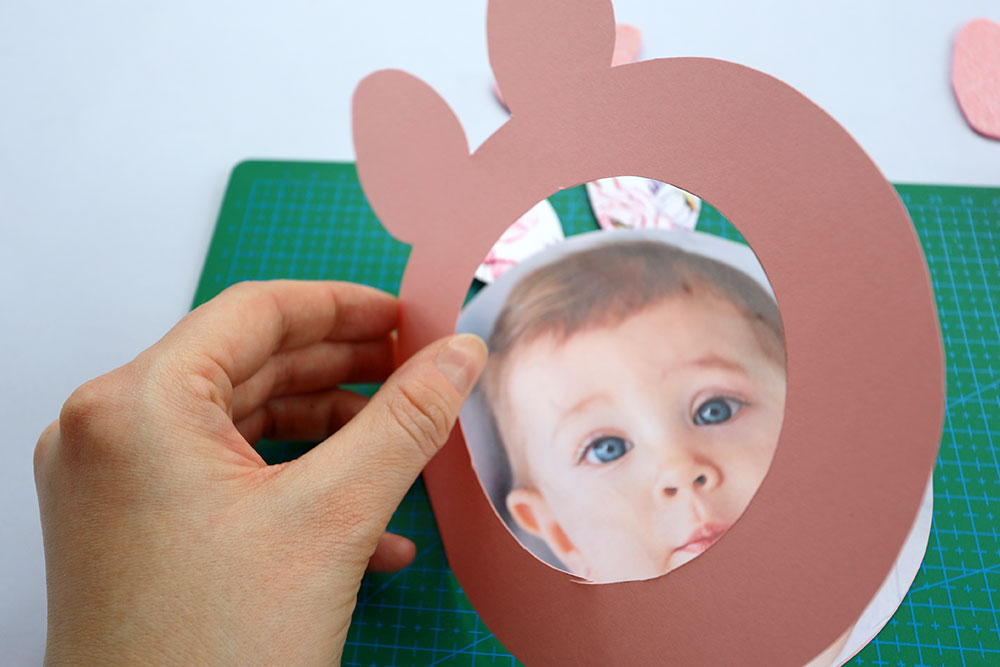
Step 5 - Cut a hole in the first page of the Easter card
On the first side of the card, trace and cut out a smaller circle through which your little one's face will peek. After cutting out the opening, write Easter wishes on the frame from the center of the card.
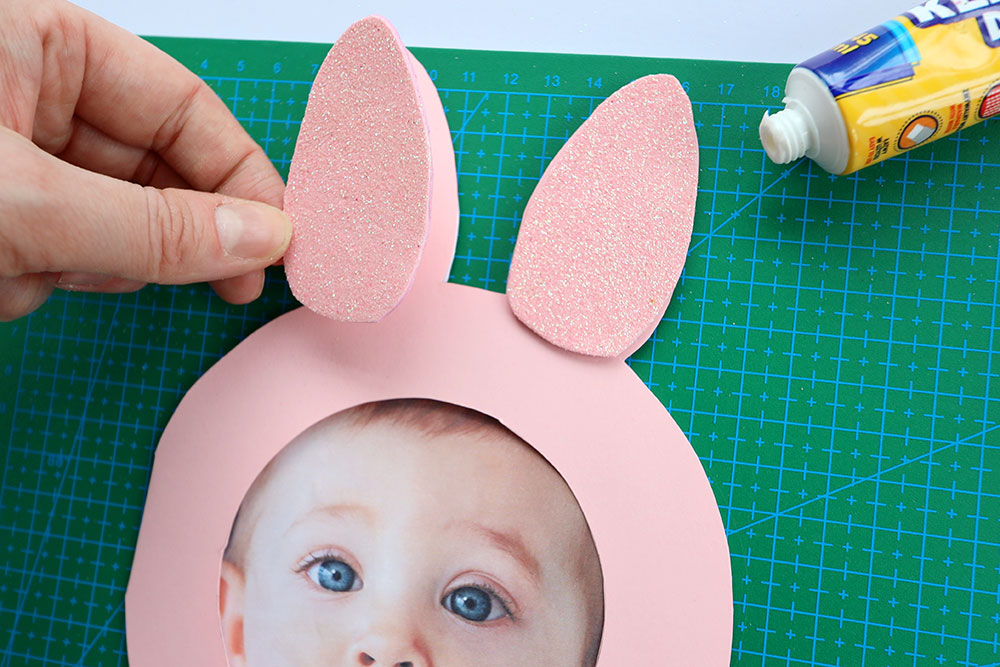
Step 6 - Glue the bunny ears
On the first side of the card, glue the bunny ears made of glitter foam or other decorative material.
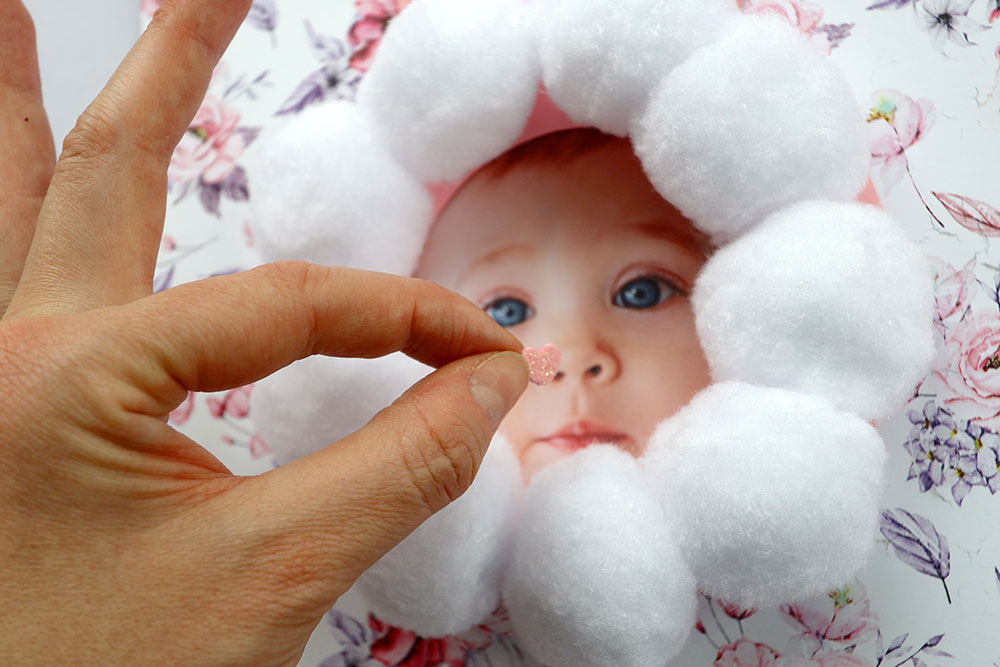
Step 7 - Glue the nose
We glue the foam bunny nose onto the child's nose
Step 8 - Glue the bunny's "fur"
Glue white pom-poms around the frame on the first side of the card. Instead of pom-poms, you can use cotton balls kneaded into balls.
ATTENTION
Before you stick the pom-poms on, write Easter wishes on the inside of the frame!
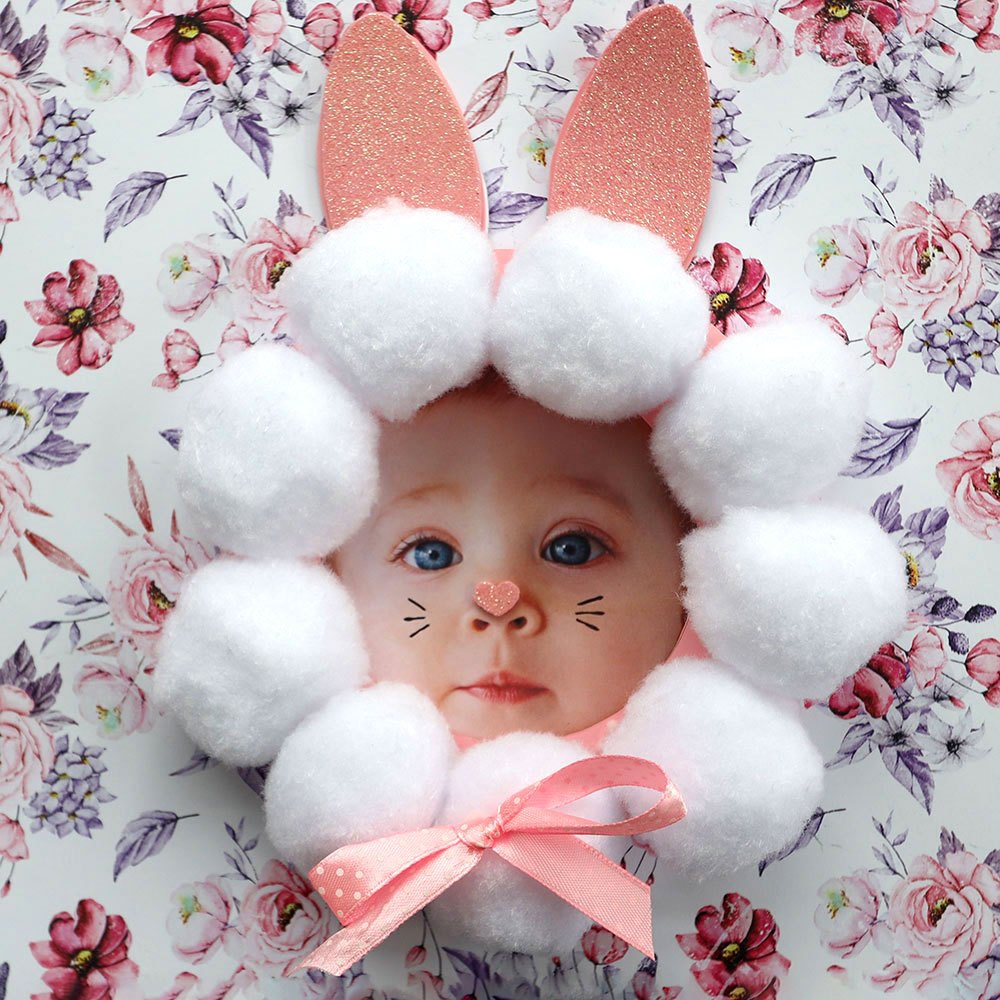
Step 9 - Decorate!
The card is ready! Now you can add your wishes, which you can write on the inside of the frame. You can also add cute embellishments to your child's photo, like a bunny's whiskers or large blushes drawn on with crayon. You can also add other embellishments, like a bow or an artificial flower by the ear.


Podziel się:
Spring DIY for kids: how to make colorful paper birds?
Women's Day Gift Ideas - Check out the best suggestions