
As the days grow longer and the sun peeks through the windows more and more often, it's time to change your decorations to spring! One of the additions that will soon announce the arrival of a new season in your home can be handmade paper birds. Making colorful paper birds with your child not only sparks their creativity and imagination but also improves their manual skills. It's also a fun way to spend quality time with your child. In this article, we'll guide you step-by-step through the process of making adorable, colorful birds with your child, which will definitely make the wait for warmer days more pleasant!
How to make paper birds - list of materials needed
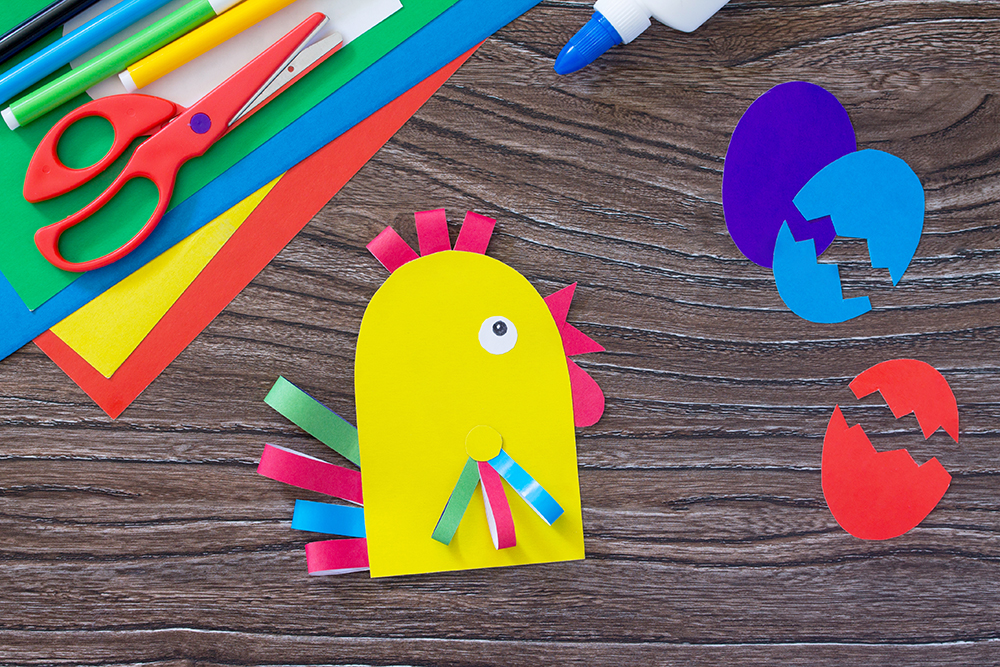
To create cute, colorful birds, you will need:
- Colored paper;
- Colored markers, gel pens, markers or poster paints;
- Glued-on eyes (if you can't buy them, you can simply draw the eyes for the birds together with your child);
- Tissue paper, felt, colored ribbons (optional, you can use them for decoration, but you don't have to);
- String for hanging decorations;
- Punch;
- Scissors;
- Glue.
Making paper birds step by step
Once you and your child have gathered all the necessary materials, it's time to get creative! How to make paper birds step by step?
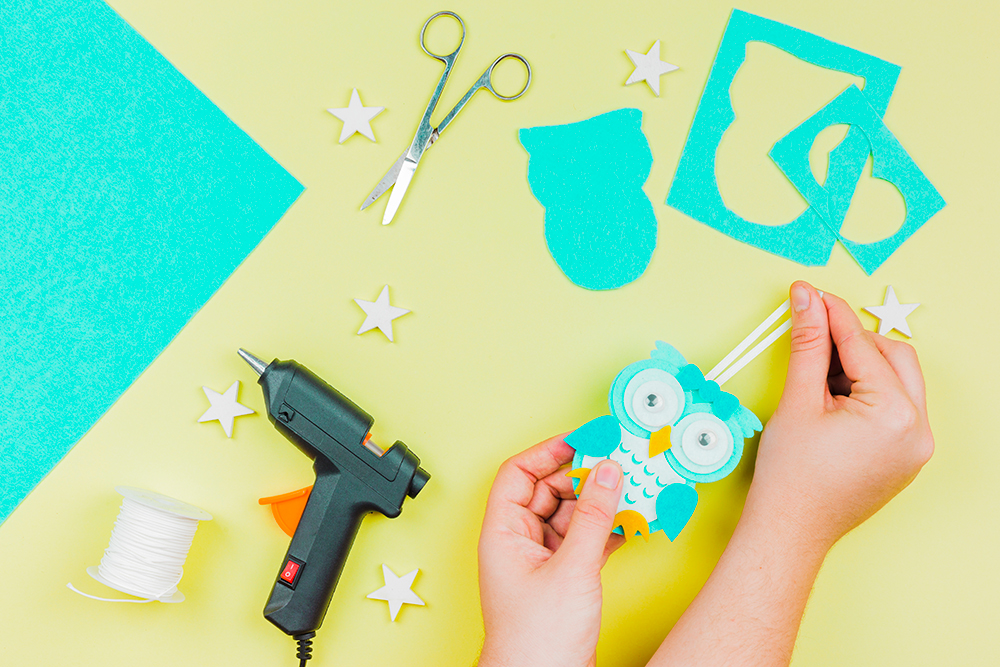
Step one - preparing materials
Look at the materials you've gathered with your child and decide what you'll need to create the perfect decorations. Your child likely has their favorite colors they'd like to use to create their paper bird. Let them decide, so they know that the choices they make matter.
Step two - cutting
First, draw the bird's shape on paper, or ask your child to help you. Cut out the bird's shape from the paper as if you were looking at it from profile. When cutting, remember to allow for some margin for error – you can refine the details later with additional cutting. Don't forget the tail, but don't add the wings – we'll deal with those later.
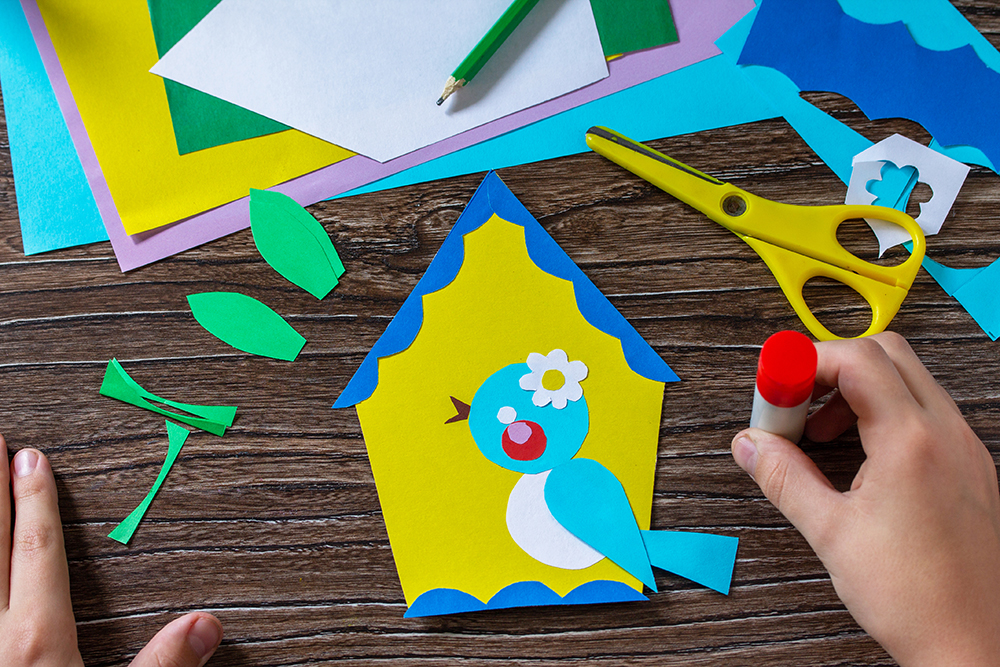
Step three - decoration
Decorate your cutouts however you like. You can use glued-on eyes, collected tissue paper, colorful ribbons that can serve as feathers in the bird's tail, or anything else your imagination suggests.
The process of decorating paper birds can be a great opportunity for a little ornithological education. Browse a bird atlas with your child and ask which one they like best. Then, try decorating your cutouts in a similar way, while maintaining the specific coloring of the chosen bird. Remember to place decorative elements on both sides of the cutout, as the hanging bird will rotate on its axis.
Step four - punching
Now it's time for a very important moment! Use a hole punch to make holes for the wings and string for hanging the decoration later. The wing hole should be placed approximately halfway down the bird's body, while the hole through which you will later hang the decoration on the string can be placed behind the bird's head.
Step five - wings
From another sheet of colored paper, cut a large square and then accordion-fold it along the edge. Try to do this carefully, so that at the end you're left with a relatively even strip. Press the accordion tightly and insert it through the wing hole, leaving a roughly equal piece of paper sticking out on both sides of the bird. You've now created charming accordion-shaped wings! If the hole you punched is too small, you can widen it with scissors.
Step six - hanging the birds on a string
The final detail: thread a string through the second hole and tie the ends together . You can hang this decoration anywhere you like – on a doorknob, by a mirror, or above a child's bed. Having colorful birds in your home will surely bring spring sooner, and you and your child will have a great time playing together!
Or maybe you're already getting ready for Easter? Check out how to make a simple Easter decoration with your child !

Podziel się:
Gift ideas for a cat lover - Celebrating Cat Day
DIY Easter Card - Wishes with a Child's Photo