

As we enter the magical Halloween season, there's no better way to get into the spirit than by creating your own unique decorations with your little ones. For children, it's a time of fascination with monsters, ghosts, and, of course, pumpkins.One of the simplest yet most fun projects you can try at home is creating a paper pumpkin from a disposable plate. Its simplicity makes it perfect for toddlers, who will also practice their manual skills, such as using paints and scissors. This activity will provide your child with unforgettable moments of creativity, allowing them to express their imagination and participate in the preparations for one of the most exciting holidays of the year.
How to Make a Simple Halloween Pumpkin Ornament
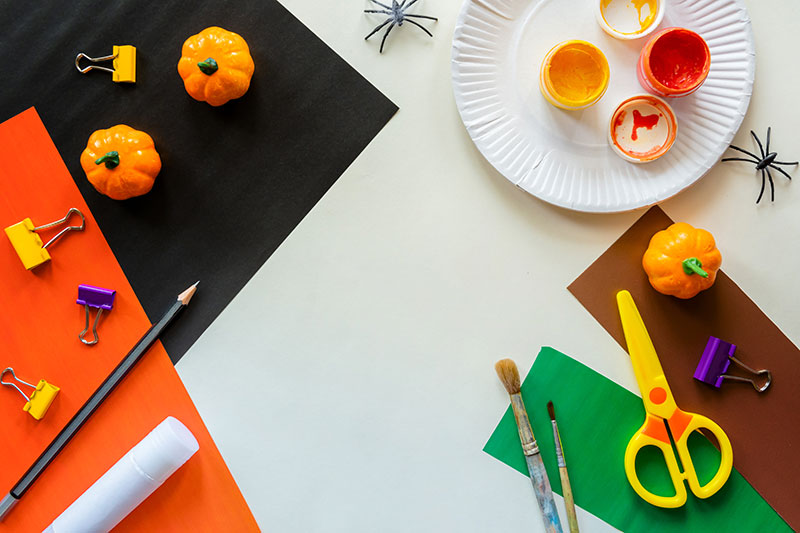
Learn how to create your own unique paper plate pumpkin in just a few simple steps, making it the perfect Halloween decoration. Get ready for a magical journey into the world of children's imagination and creative crafts!- White paper plate
- Colored paper: black, green, brown
- Orange paint and brush
- Scissors
- Pencil
- Glue
Step 1 - Painting the plate
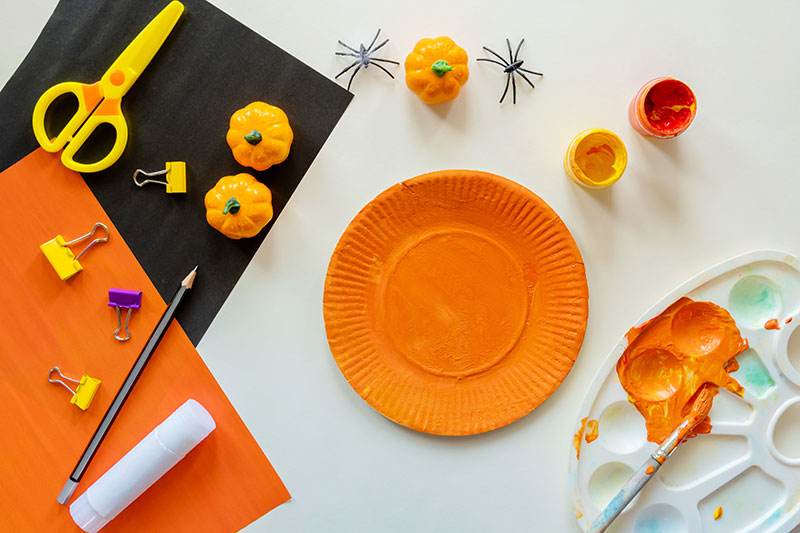
To make a pumpkin, you'll need a regular paper plate. Now just paint it orange, and the pumpkin base is ready.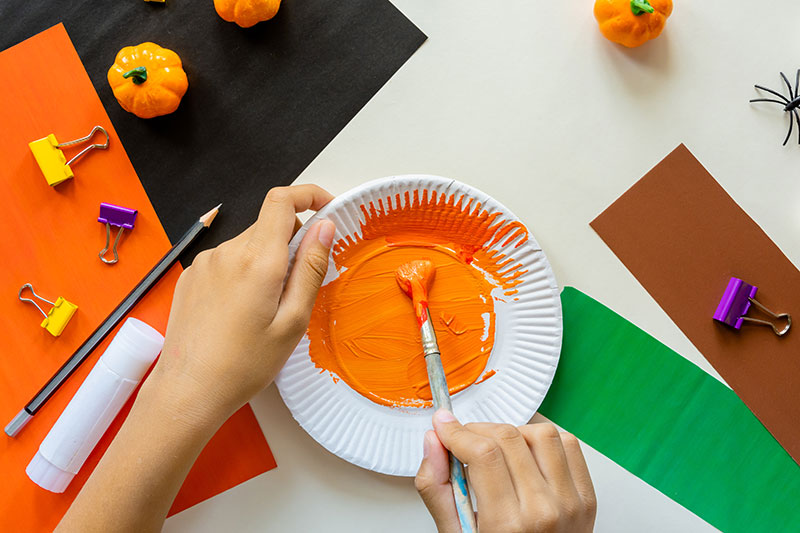
Step 2 - Creating a smiley face
We need to cut out a pumpkin face from black colored paper. You can create a classic pumpkin with triangular eyes and teeth, or get more creative and create your own version of a Halloween decoration.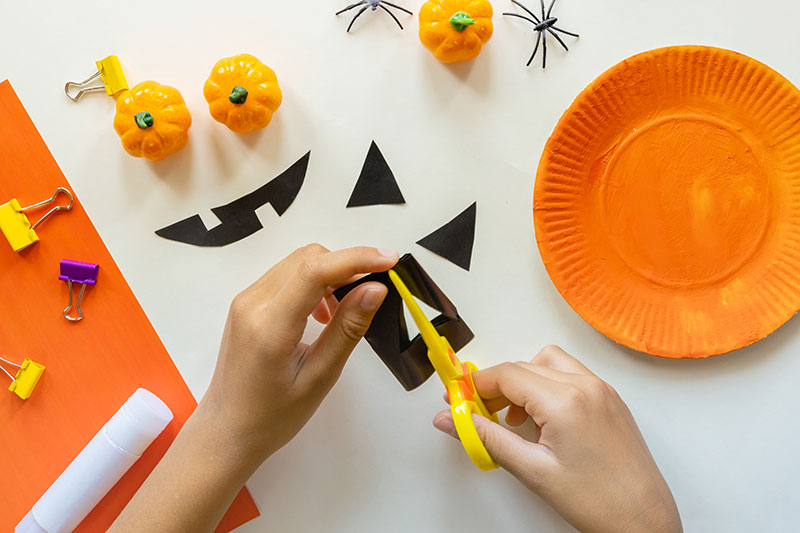
 The plate's face can be a smiley face, or you can make a pumpkin, for example, a cat's face. Glue the cut-out elements onto the plate.
Step 3 - Add the petiole and shoots
From brown paper, cut out a stem, which we'll place on the top of the pumpkin. Then, from green paper, cut two long green strips, which will become our shoots. To make the shoots curl beautifully, we wrap them around a pencil, creating the desired shape. Glue all the elements to the top of the pumpkin.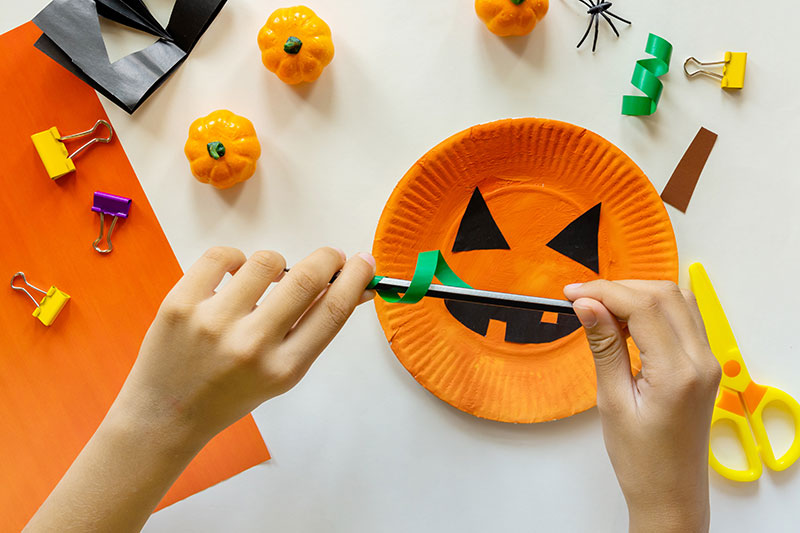 Our Halloween decoration is complete! Now you can use the remaining plates to create more pumpkin friends! Experiment with colors and face shapes.

Podziel się:
How to dress a girl in winter - Dressing a child in layers
Active play with Endo: pushing and wrestling